
30 ideas
30 practical USB setups for home, office and travel
A collection of 30 practical USB setups for office, travel, gaming, creative work, home and mobile use, with a short list of what you need and clear steps.
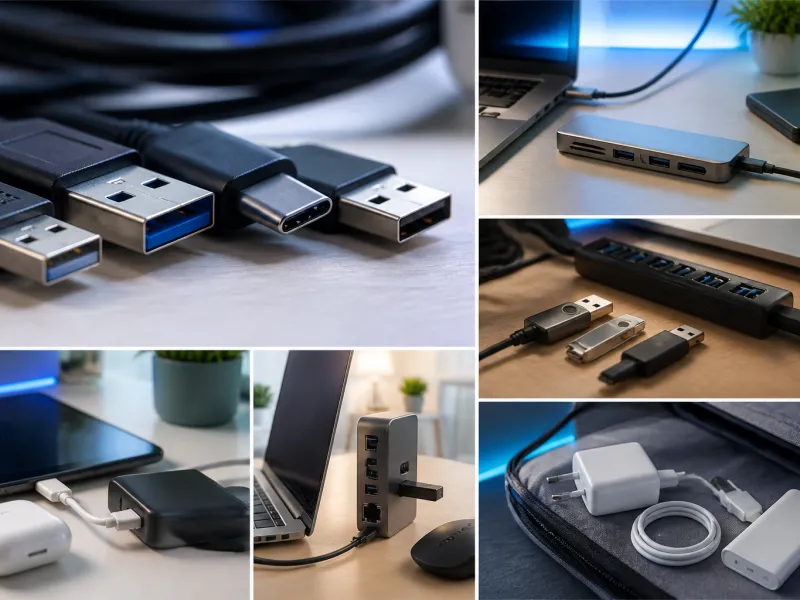
USB has become the common language for charging, connecting and moving data between almost every device you own. Whether you work from an office desk, travel with a light bag or record podcasts at home, a few well chosen cables and accessories can save you a surprising amount of time. If you want a refresher on the different generations of USB and what the numbers actually mean, our overview of USB standards is a good place to start.
This page collects 30 practical USB setups you can build for office, travel, gaming, creative, home and mobile use. Each one lists what you need and the steps to put it together, without any ratings or invented benchmarks. Unfamiliar terms are explained as they appear, and the full glossary covers every abbreviation in more depth.
 01
01One cable laptop desk
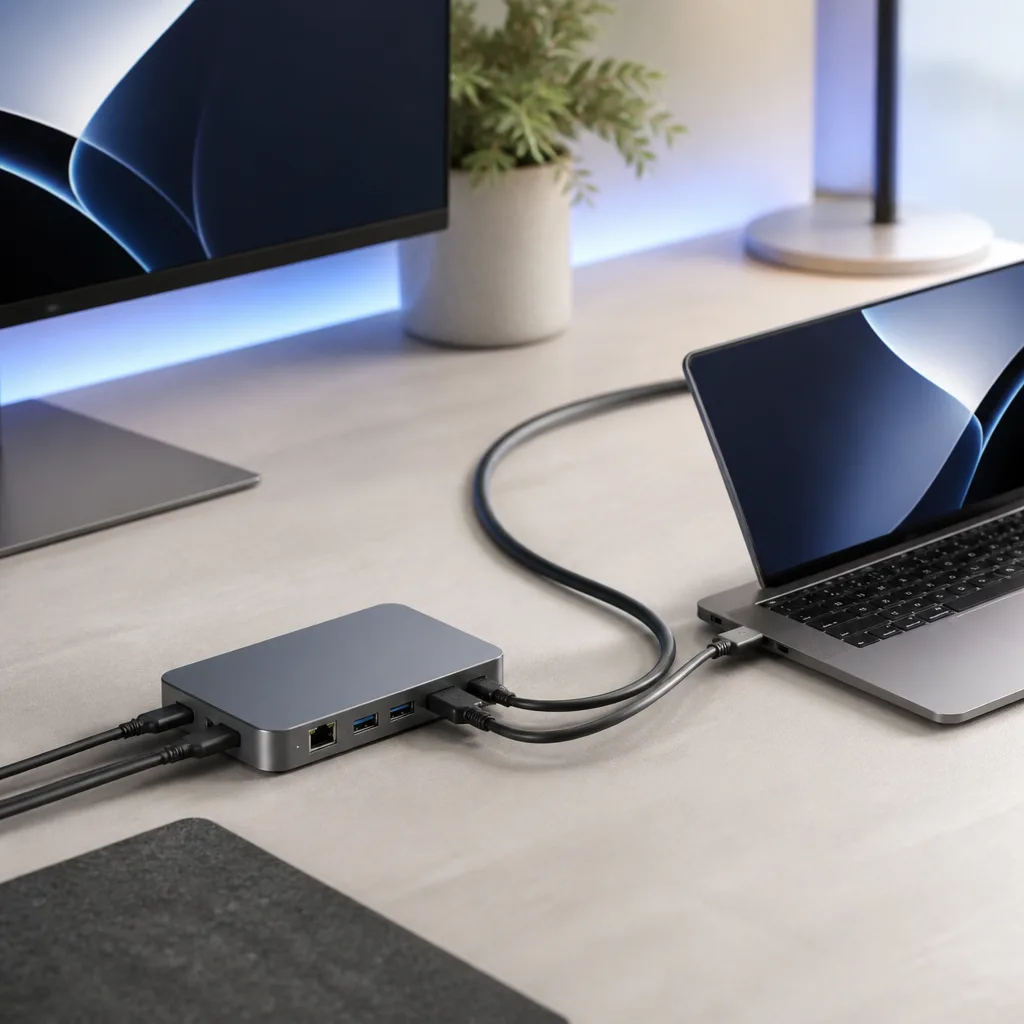
A single cable can carry power, video and data between your laptop and everything else on your desk. This turns sitting down to work into one plug instead of five, and keeps cable clutter to a minimum. It works best with a laptop that supports USB-C charging and video output over the same port.
You need: a USB-C dock or hub with power delivery, one USB-C cable, a monitor with an HDMI or DisplayPort input
- Connect the dock to your monitor, keyboard, mouse and network cable once
- Plug the dock into a power outlet
- Connect your laptop to the dock with a single USB-C cable
- Confirm the laptop charges and the monitor shows an image
- Adjust display settings if the resolution or refresh rate looks wrong
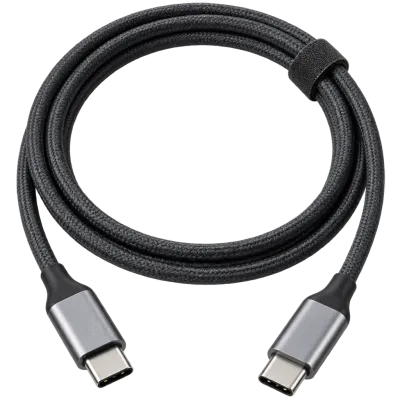 Matching productUSB-C cable 240 WAmazon →
 02
02Dual monitor over USB-C
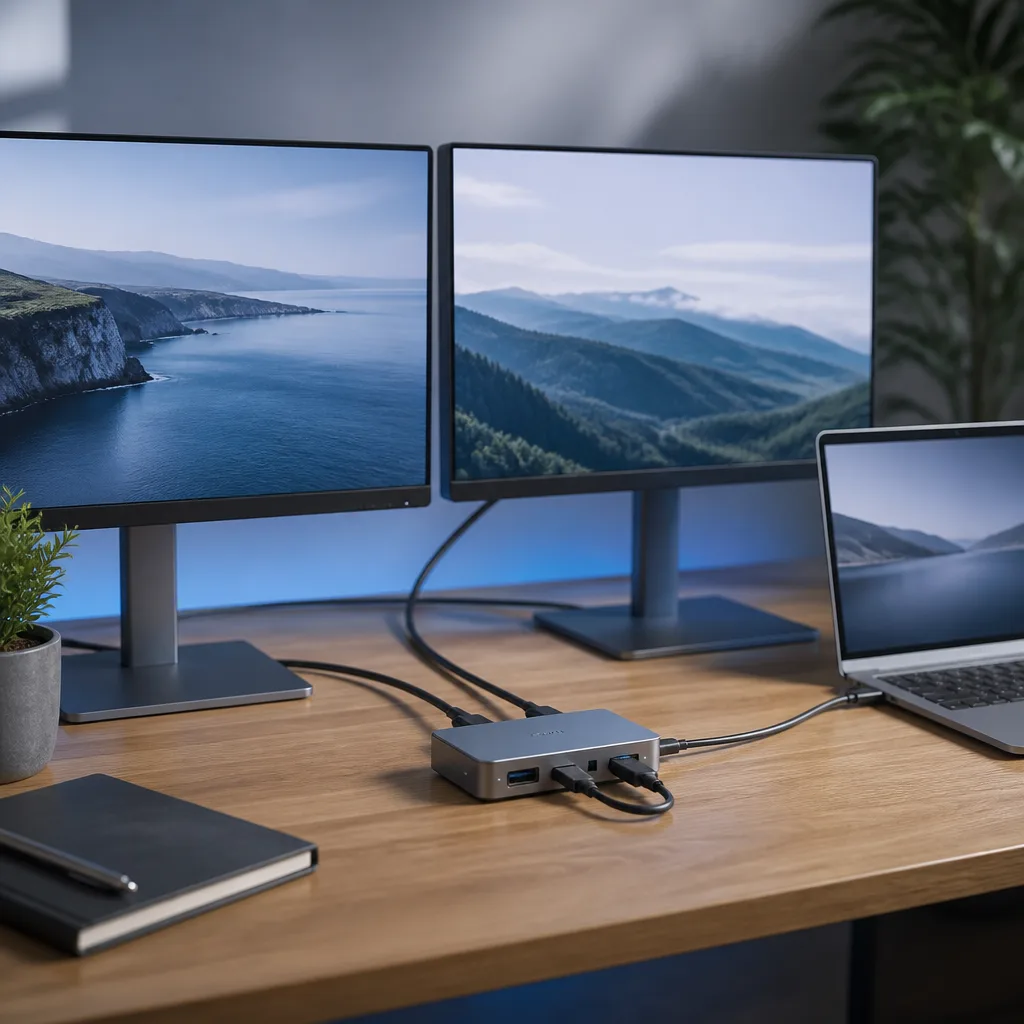
Many modern laptops can drive two external monitors through a single USB-C port if the port and the dock both support enough video bandwidth. This setup is popular for anyone comparing documents side by side or running a spreadsheet next to an email client. Check your laptop's specifications first, since not every USB-C port supports dual external displays.
You need: a laptop with USB-C video output, a dock rated for dual monitor output, two monitors with cables
- Check whether your laptop officially supports two external displays over one port
- Connect both monitors to the dock
- Connect the dock to the laptop with USB-C
- Open display settings and arrange the two screens to match your desk layout
- Save the arrangement so it reloads automatically next time
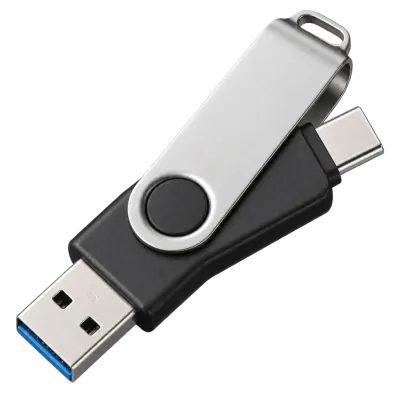 Matching productDual USB-C/A flash driveAmazon →
 03
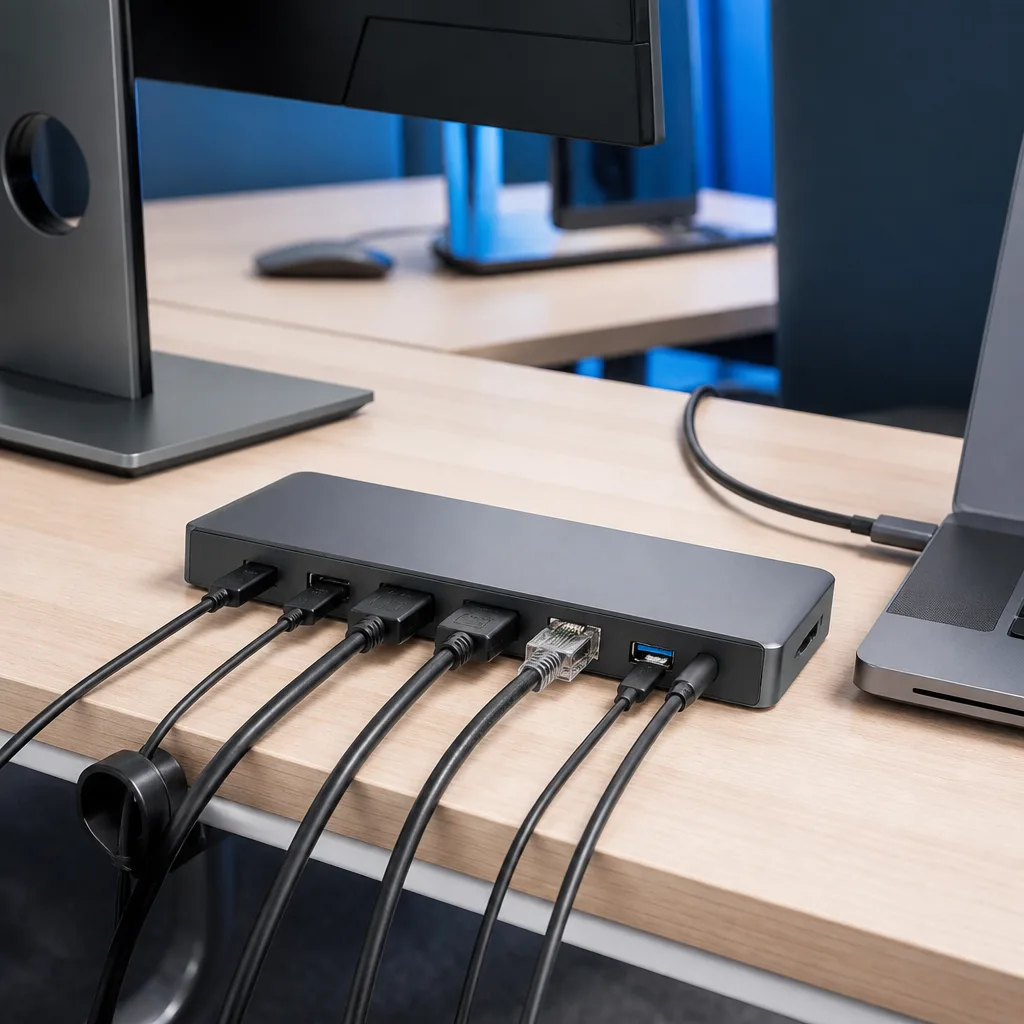
03USB-C docking station for hot desking
In a shared office, a fixed dock at each desk lets any laptop connect with one cable instead of everyone bringing their own set of adapters. Colleagues simply plug in and get power, network, monitor and peripherals in one motion. This setup pays off quickly in offices where desks are not permanently assigned to one person.
You need: a USB-C dock with ethernet and video output, permanently wired monitor and network cables, a shared USB-C cable
- Mount or place the dock at the desk and wire it to the monitor and network once
- Leave one USB-C cable connected to the dock
- Have each user plug their own laptop into that cable
- Ask new users to check that video, network and charging all work
- Label the dock with basic instructions for shared use
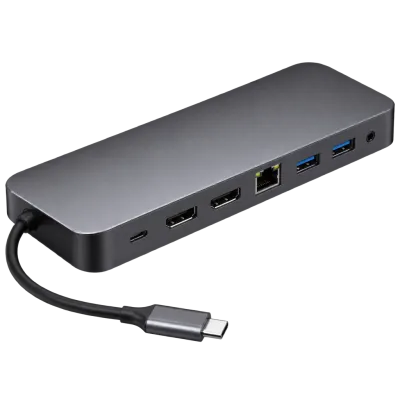 Matching productUSB-C docking stationAmazon →
 04
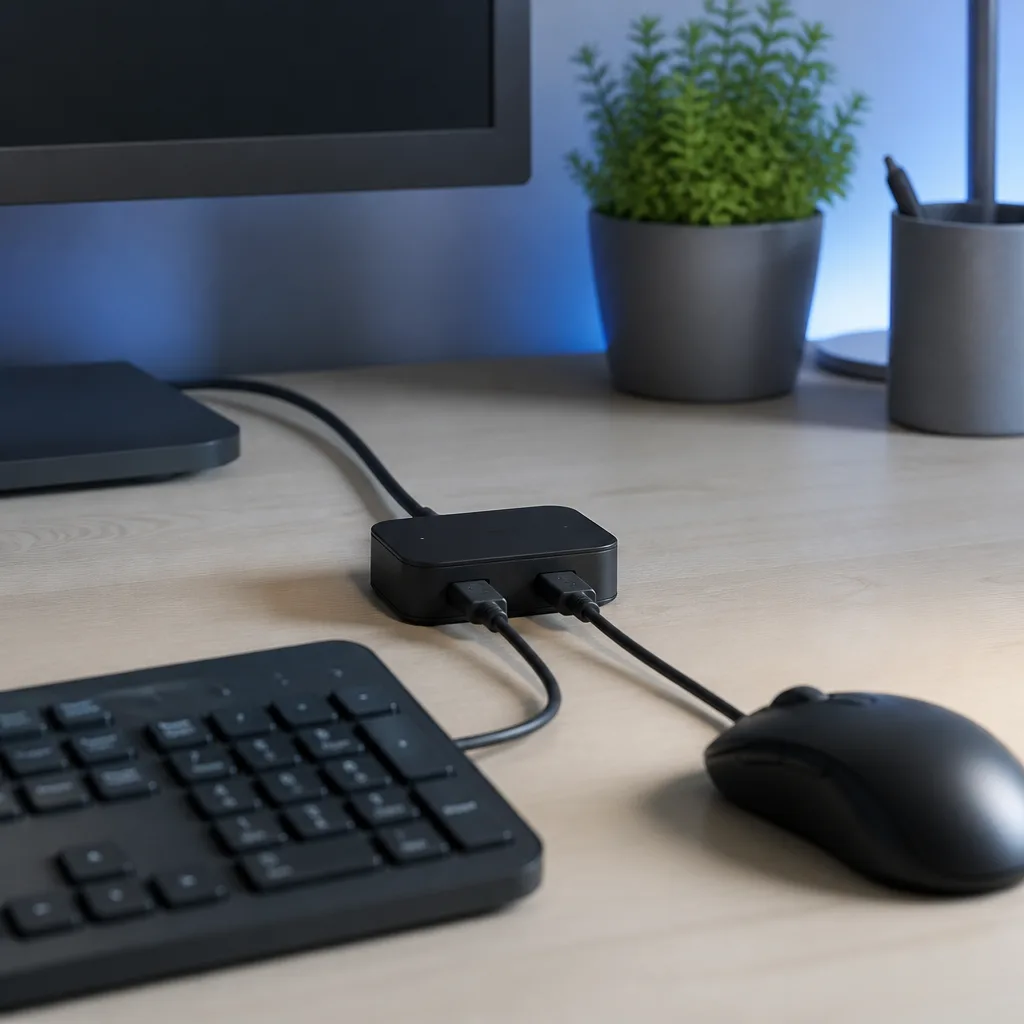
04Wired keyboard and mouse hub for a shared workstation
A shared computer used by several people benefits from wired input devices connected through a small hub, since there is no pairing step and nothing to charge. This keeps the workstation ready to use at any time. A basic hub also frees up a port on the computer itself for a flash drive or card reader.
You need: a small USB hub, a wired keyboard, a wired mouse
- Plug the hub into a free USB port on the computer
- Connect the keyboard and mouse to the hub
- Test that both devices respond
- Route the cables along the back of the desk to keep them tidy
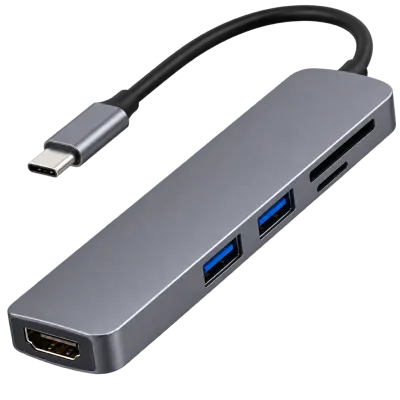 Matching productUSB-C hubAmazon →
 05
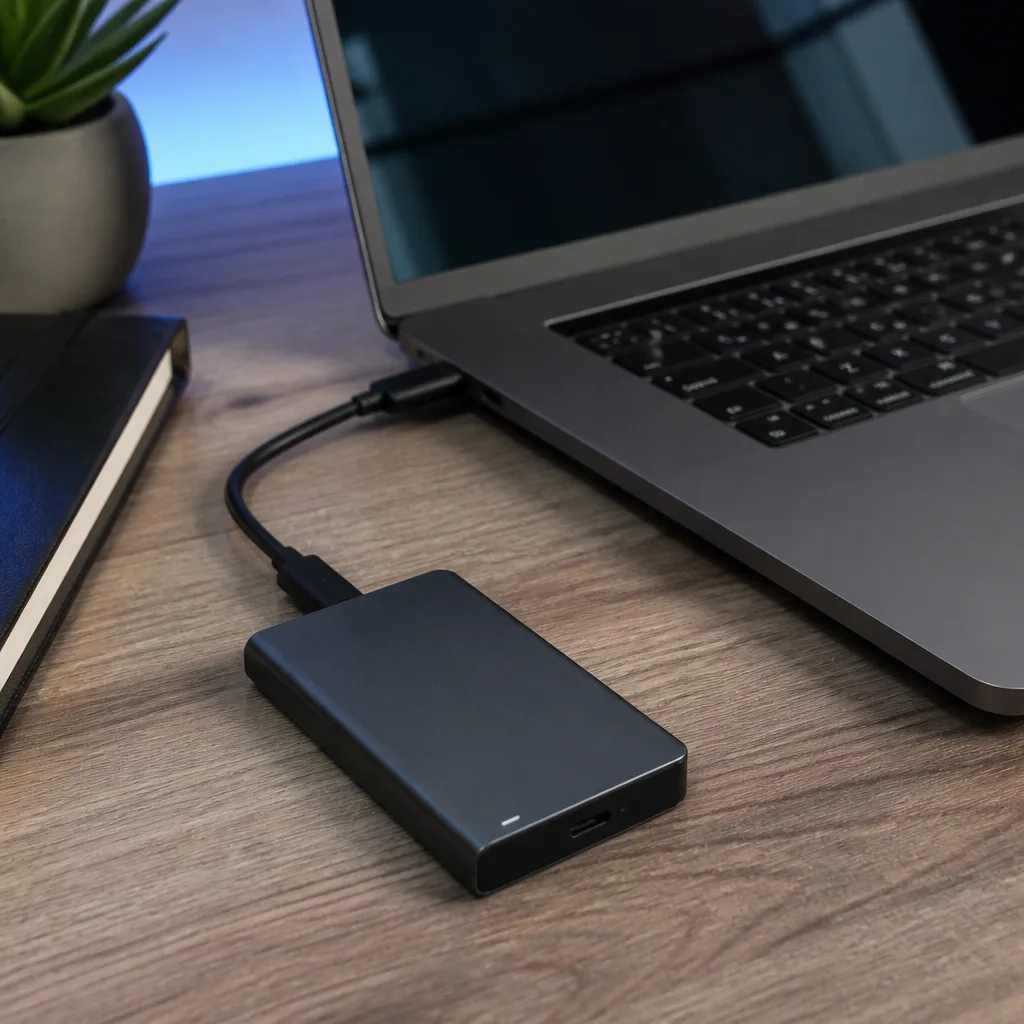
05Backup routine with an external SSD
An external SSD connected whenever you sit down to work makes it easy to keep a second copy of important files without relying only on the cloud. Because solid state drives have no moving parts, they tolerate being plugged and unplugged often. Choose a drive that matches the fastest USB port your laptop offers to avoid a slow transfer becoming a daily annoyance.
You need: an external SSD, a compatible USB cable, backup software or a simple copy routine
- Connect the SSD to your laptop or dock
- Set up a backup tool or a recurring folder copy to the drive
- Run the backup at the end of each work session
- Disconnect and store the drive safely when not in use
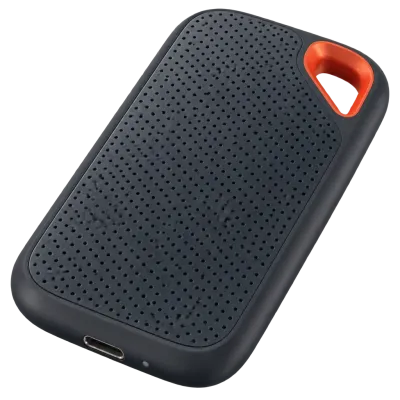 Matching productExternal SSDAmazon →
 06
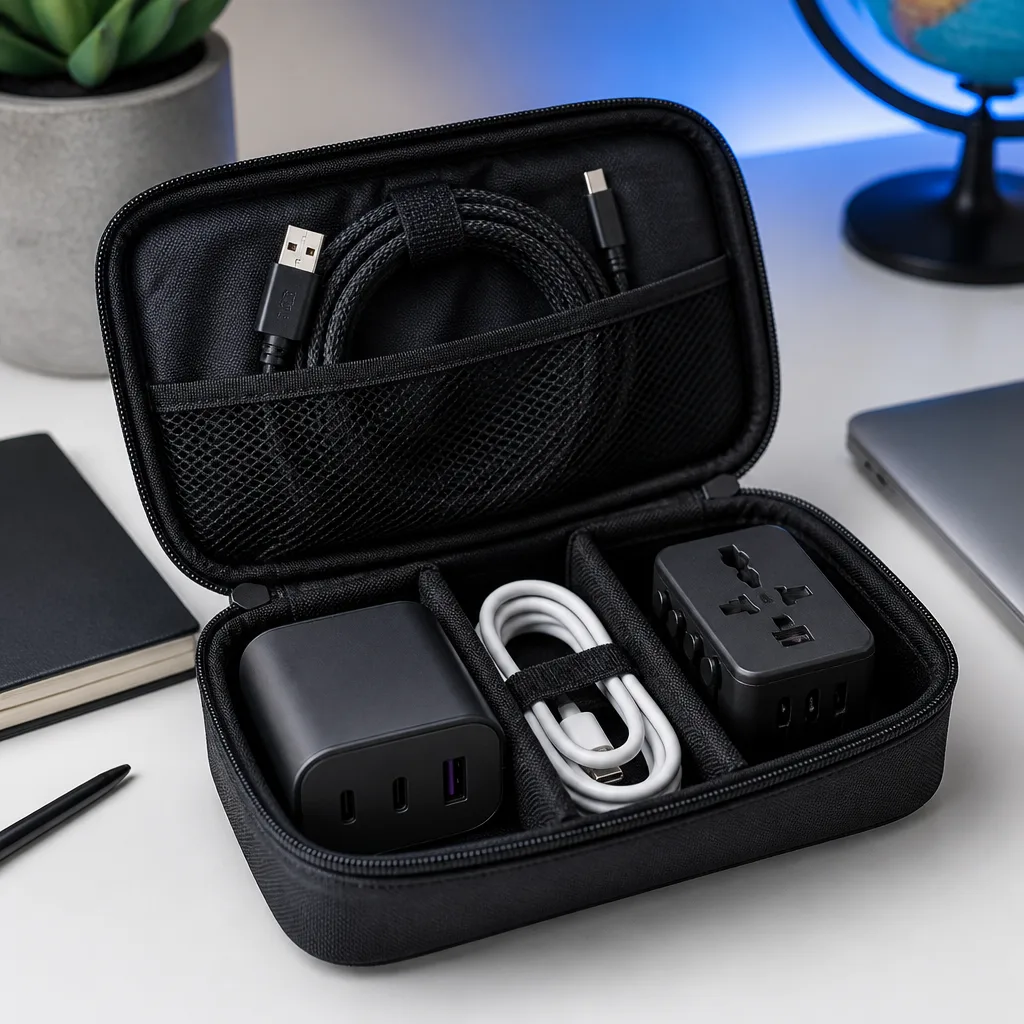
06Travel charging kit for phone, tablet and laptop
A single small charger with several ports can replace three separate chargers in your bag, as long as its total power output covers your laptop as well as smaller devices. Pack it together with a short set of cables so you are never digging through a bag for the right one. Look at the Power Delivery rating printed on the charger before you rely on it for a laptop.
You need: a multi port charger with enough combined wattage, one USB-C cable per device, a travel adapter if needed
- Check the wattage each of your devices needs to charge normally
- Choose a charger whose total output covers your laptop plus at least one other device
- Pack matching cables for each device in the same pouch
- Add a travel adapter if your destination uses different sockets
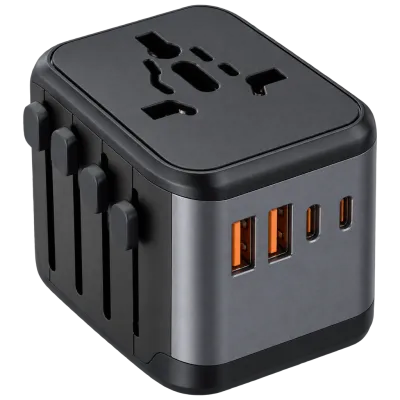 Matching productTravel adapter with USBAmazon →
 07
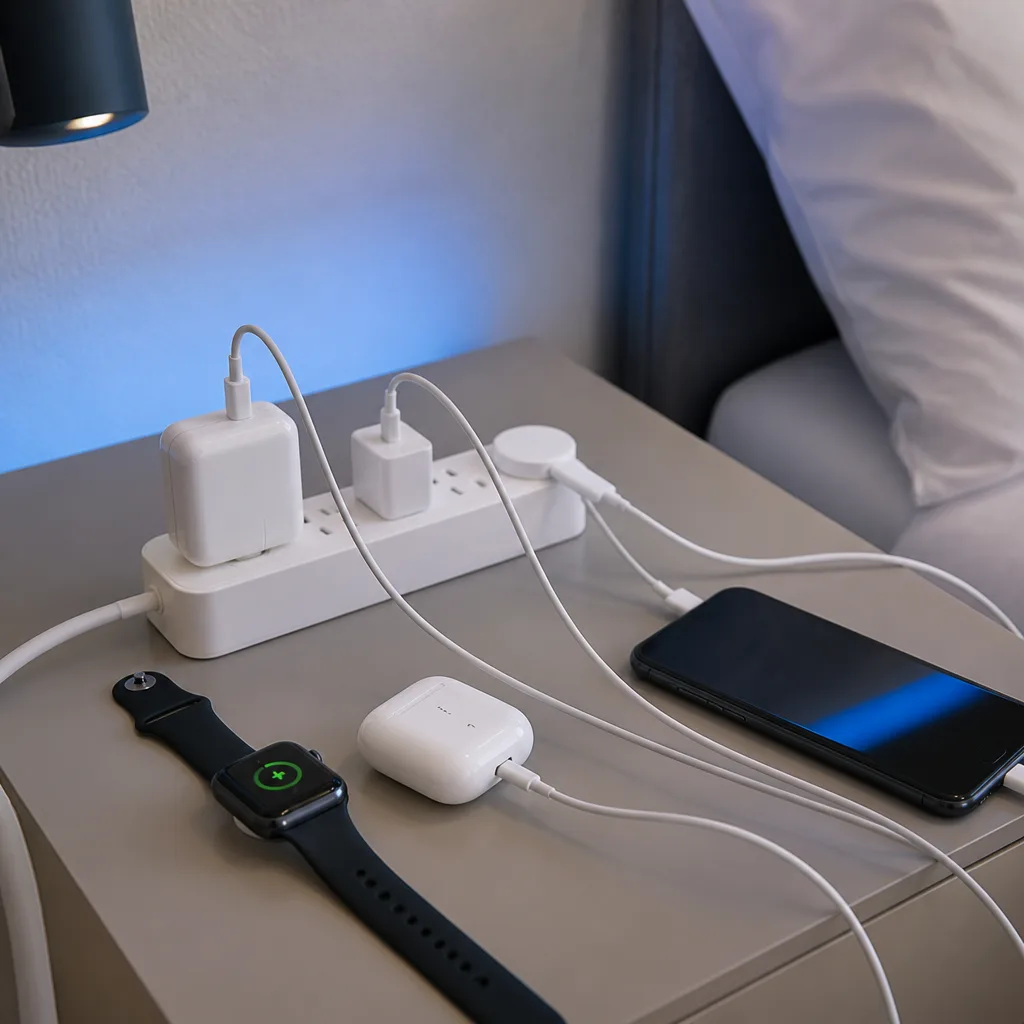
07Hotel room charging station
Hotel rooms rarely have enough outlets near the bed, so a small power strip or multi port charger placed on the nightstand turns one socket into a station for phone, watch and headphones overnight. This avoids the ritual of unplugging the lamp to charge your phone. A charger with several ports also means you do not need to bring adapters for every device.
You need: a compact power strip or multi port charger, cables for each device
- Place the charger or power strip on the nightstand
- Plug it into the room's single accessible outlet
- Connect each device with its own cable
- Arrange cables so nothing pulls loose overnight
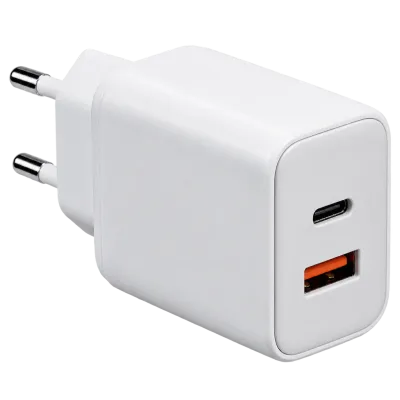 Matching productGaN charger 65 WAmazon →
 08
08In-flight power and entertainment setup
Many aircraft seats include a USB port for charging but not always enough power to charge a phone quickly while it is also being used for entertainment. Bringing a small power bank as backup avoids landing with a nearly empty battery. Keep a short cable within reach in your seat pocket rather than packed away in the overhead bin.
You need: a short USB cable, a small power bank as backup, headphones
- Check the seat's USB port before takeoff
- Connect your phone with a short cable
- Switch to your own power bank if the seat port charges too slowly
- Keep the cable and power bank accessible for the whole flight
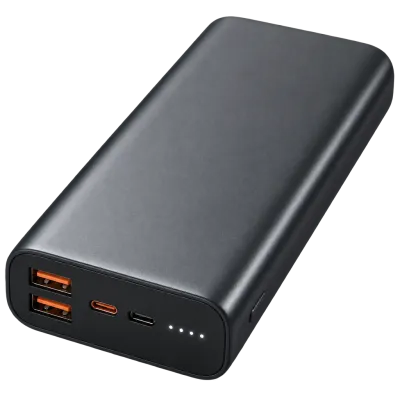 Matching productPower bank 20,000 mAhAmazon →
 09
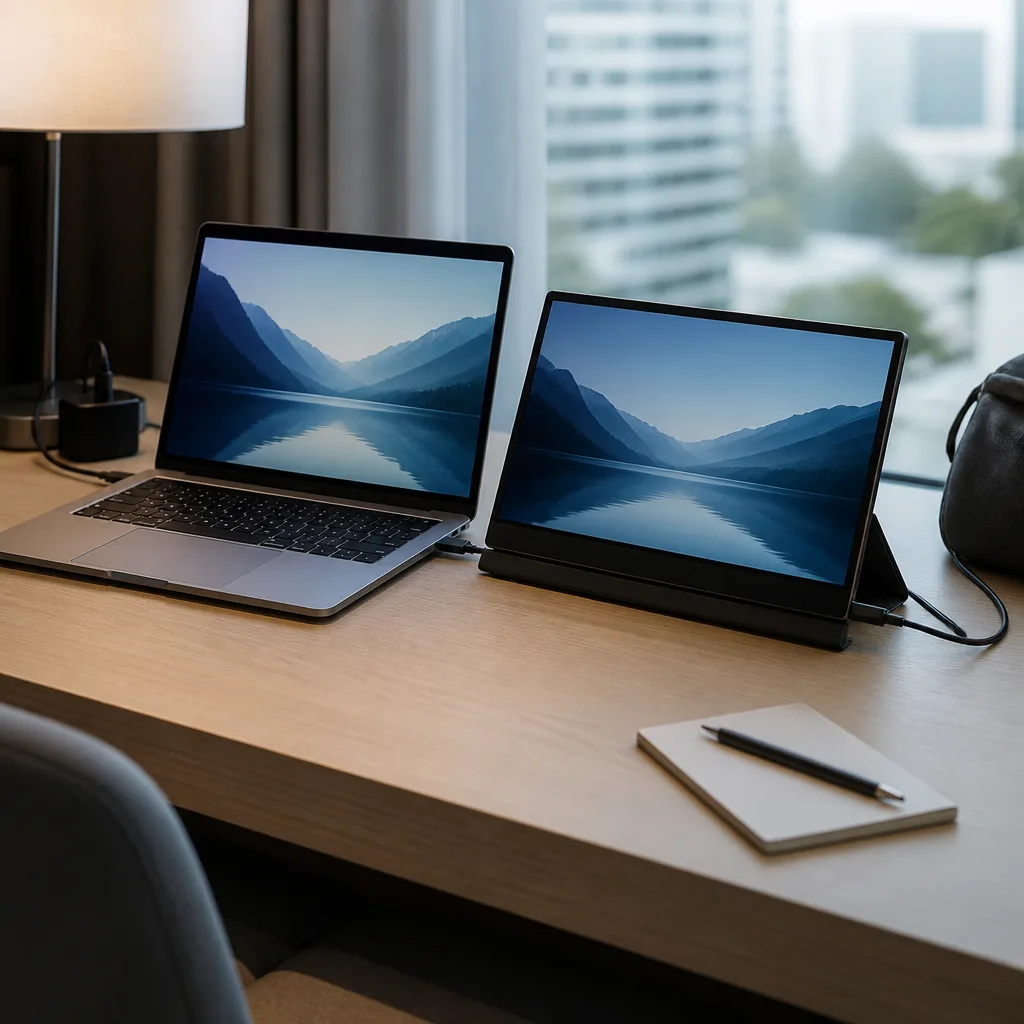
09Portable monitor for a hotel workdesk
A thin USB-C portable monitor packs flat in a laptop bag and turns a cramped hotel desk into something closer to a real workstation. Most portable monitors take both power and video over a single USB-C cable, so the setup needs only one connection to the laptop. Check that your laptop's USB-C port supports video output before buying one.
You need: a USB-C portable monitor, one USB-C cable, a stand or the monitor's folding cover
- Unfold the monitor's stand or cover on the desk
- Connect the monitor to the laptop with a single USB-C cable
- Confirm the laptop screen extends or mirrors onto the portable monitor
- Adjust brightness and angle for the room's lighting
Matching productUSB-C cable 240 WAmazon →
 10
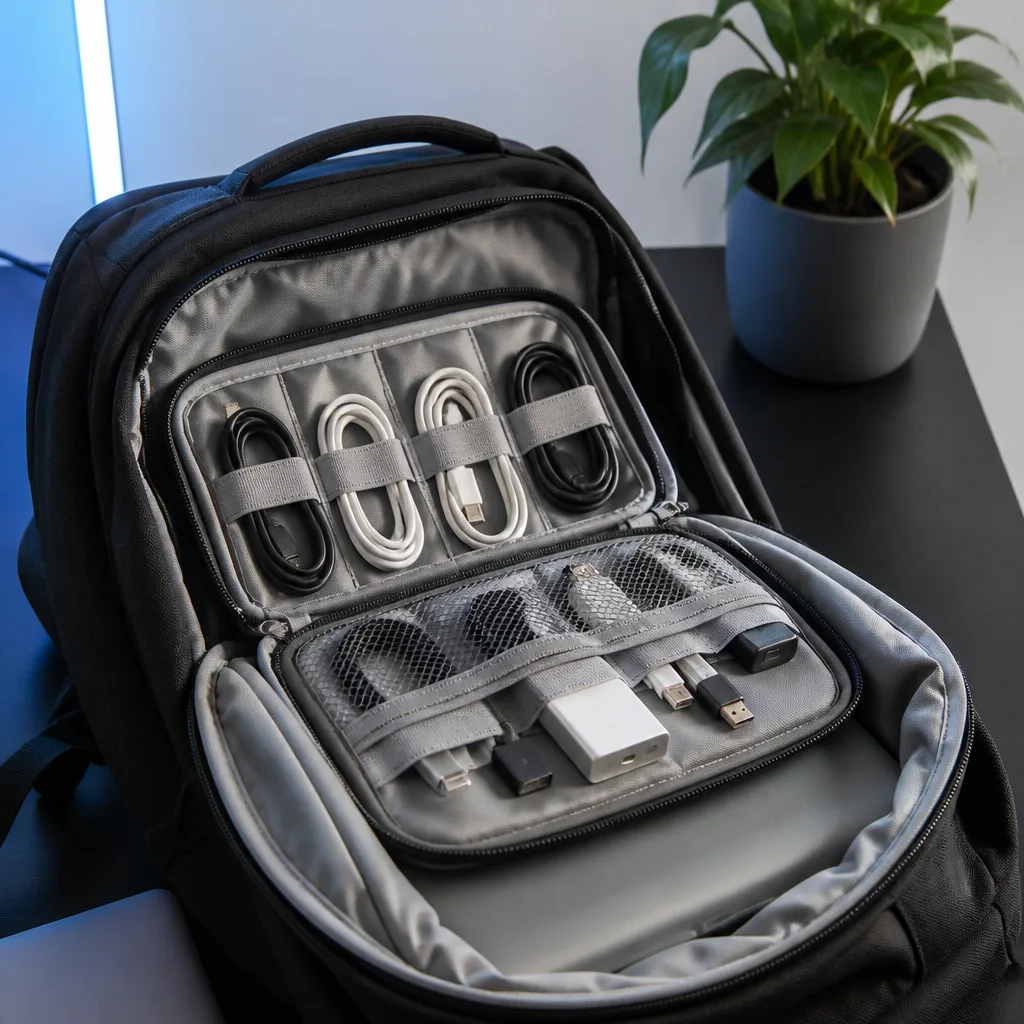
10Digital nomad backpack cable kit
Working from different countries and cafes for weeks at a time means your cable kit has to cover charging, backup and the occasional unexpected connector. A small organizer pouch keeps everything sorted so you can find the right cable in a dim cafe without unpacking your whole bag. Include a spare cable of your most used type, since it is the part most likely to fail on the road.
You need: an organizer pouch, a multi port charger, spare cables, a small hub, an external SSD for backups
- Sort cables by device into the pouch's compartments
- Keep one spare of your most used cable type
- Pack the charger and hub together so they are found in one motion
- Recheck the kit after each trip and replace anything worn out
Matching productExternal SSDAmazon →
 11
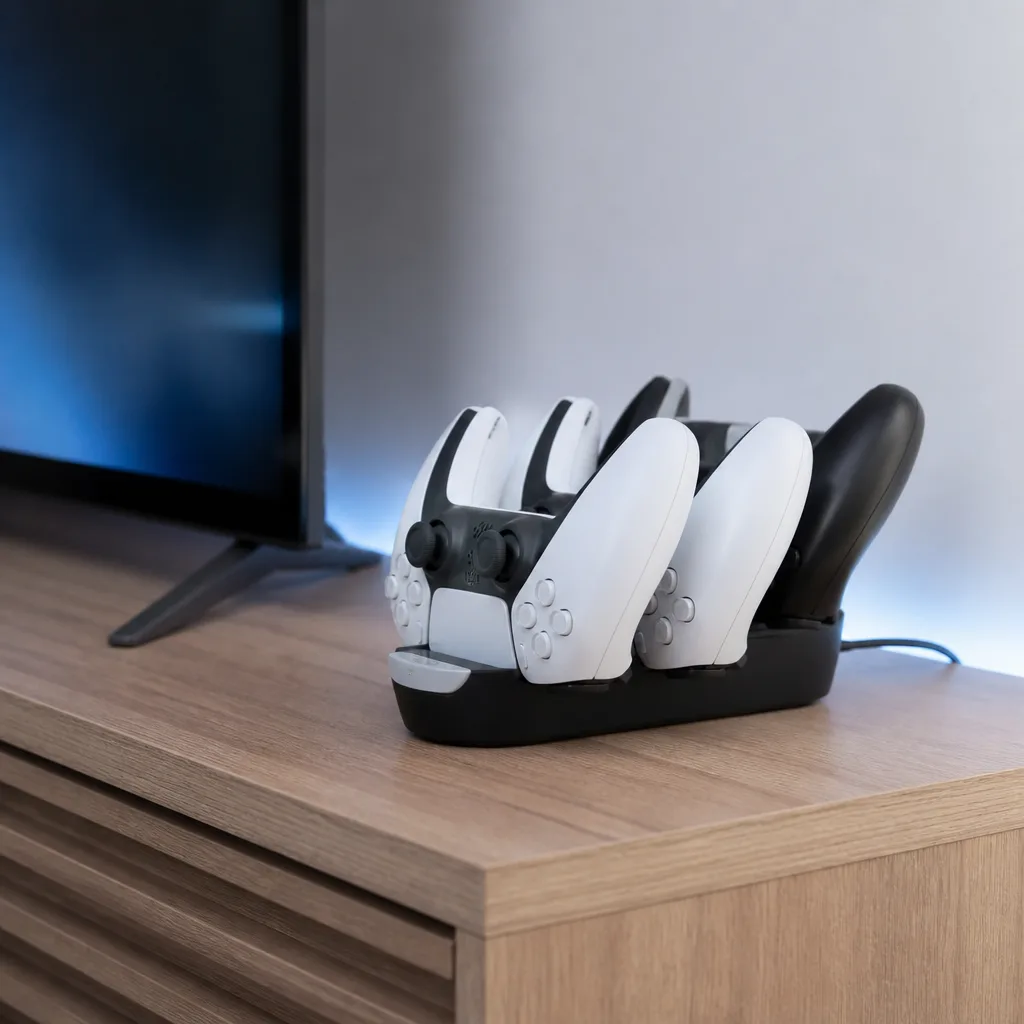
11Console controller charging station
A small charging stand next to the television keeps controllers topped up between sessions instead of dying mid game. Most stands connect to the console or a wall adapter with a single USB cable. This setup is especially useful in a household where several people share the same controllers.
You need: a controller charging stand, a USB cable, a power source
- Place the stand within reach of the seating area
- Connect the stand to a USB power source
- Dock each controller after use
- Check charge levels before longer sessions
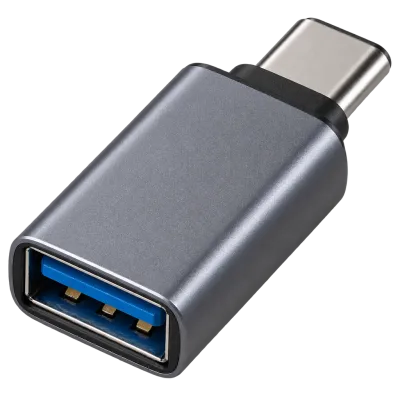 Matching productUSB-C to USB-A adapterAmazon →
 12
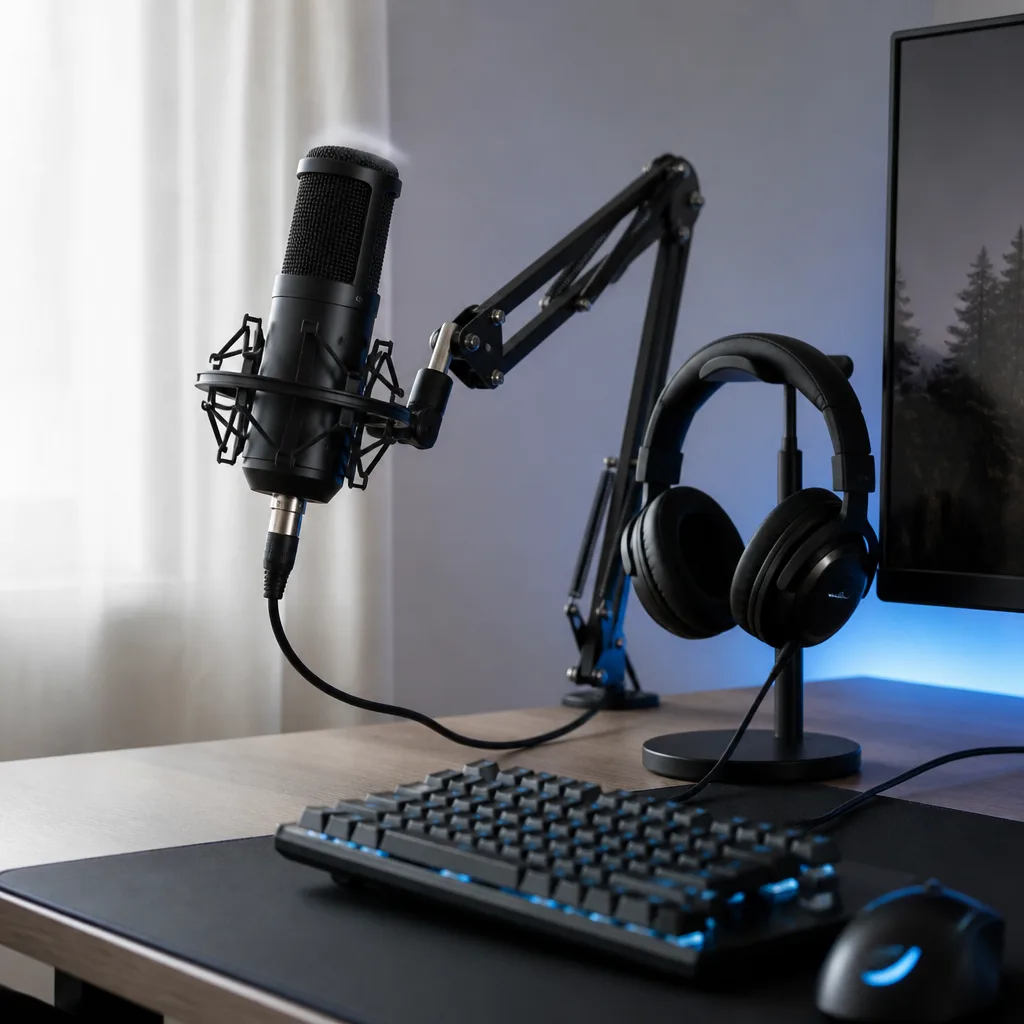
12USB microphone and headset setup for streaming
A dedicated USB microphone on a boom arm gives clearer voice audio for streaming or calls than a headset microphone, while the headset itself stays connected separately for game sound. Positioning the microphone off to the side keeps it out of the camera frame. Software mixing lets you balance game audio, voice chat and microphone levels independently.
You need: a USB microphone, a boom arm or stand, a headset, mixing software
- Mount the microphone on the boom arm at mouth height, off to the side
- Connect the microphone to a free USB port
- Connect the headset separately for game and chat audio
- Set input and output levels in your mixing software
- Do a short test recording before going live
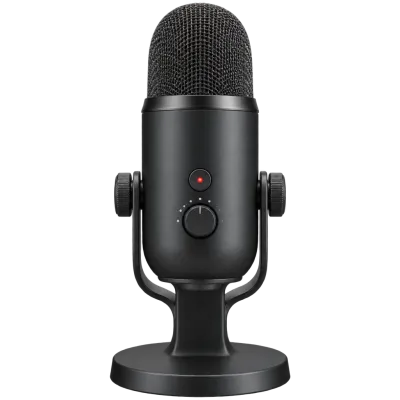 Matching productUSB microphoneAmazon →
 13
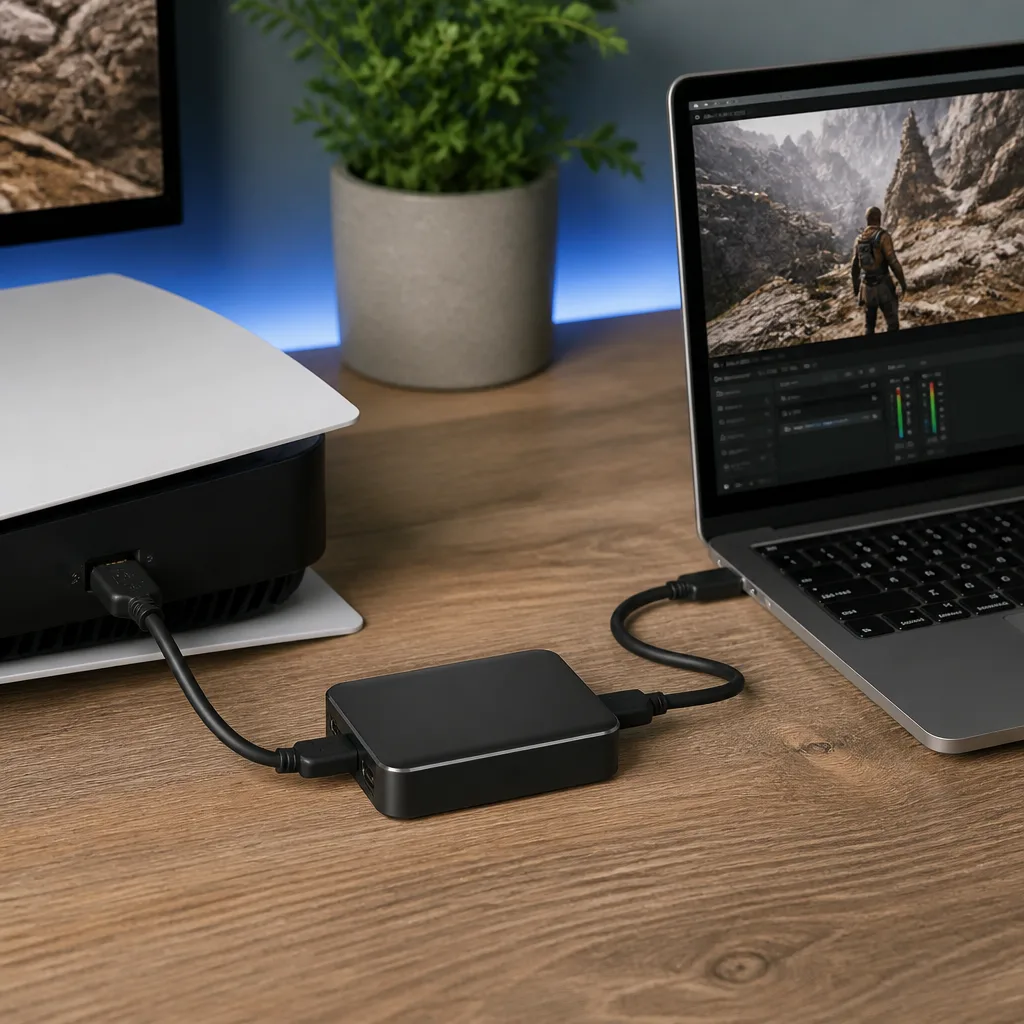
13Capture card setup for game recording
A USB capture card sits between your console and a monitor or laptop, sending a copy of the video signal to recording software while you play normally on the main screen. This lets you save gameplay footage without any noticeable delay if the card supports pass through. Check the capture card's supported resolution and frame rate against your console's output before relying on it.
You need: a USB capture card, an HDMI cable from the console, an HDMI cable to the monitor, recording software
- Connect the console's HDMI output to the capture card's input
- Connect the capture card's output to your monitor
- Connect the capture card to your laptop with USB
- Open recording software and confirm the video feed appears
- Start a short test recording before a real session
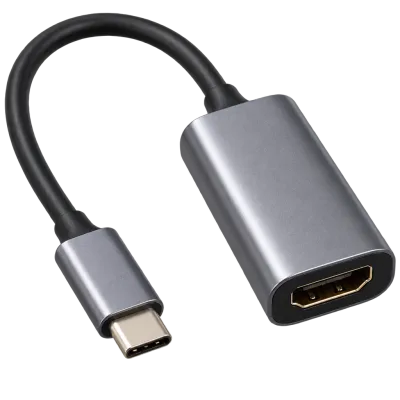 Matching productUSB-C to HDMI adapterAmazon →
 14
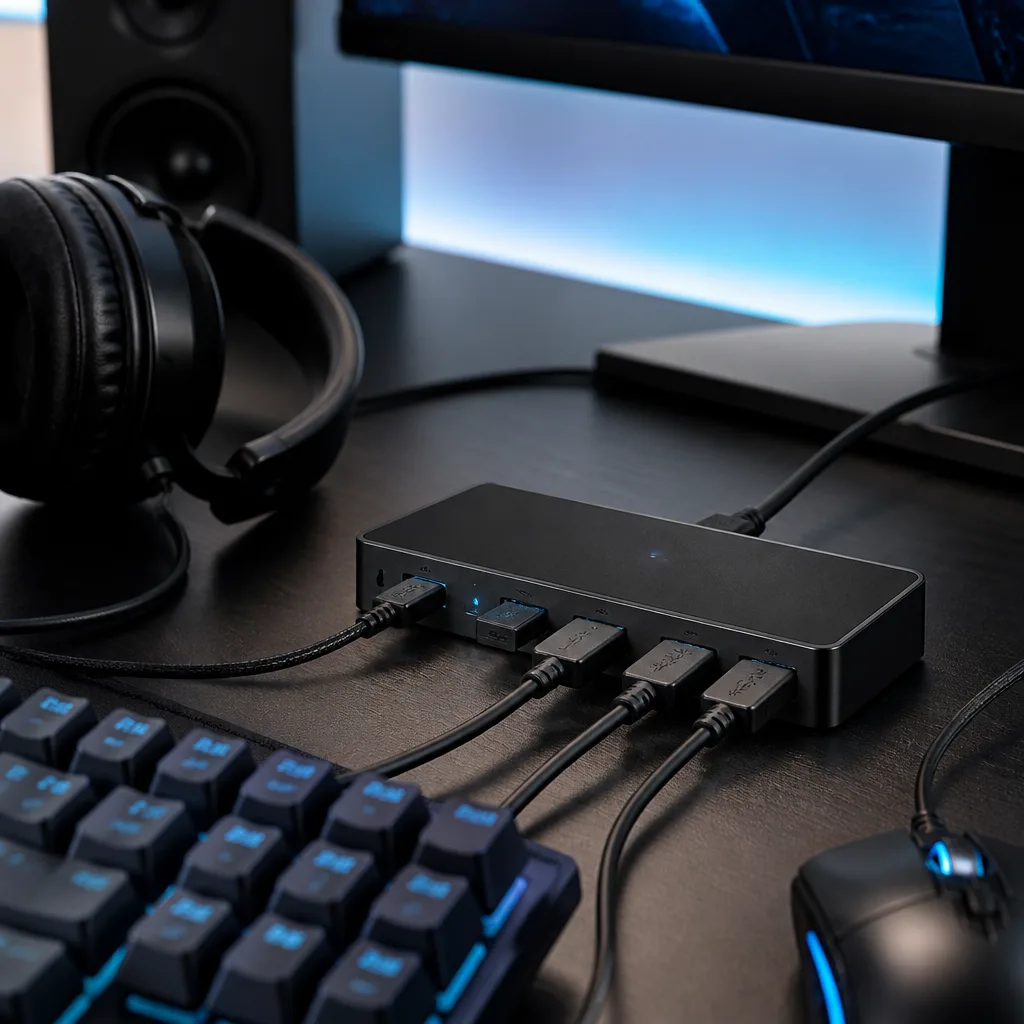
14USB hub for a gaming desk with multiple peripherals
Gaming desks quickly run out of USB ports once a keyboard, mouse, headset and controller receiver are all plugged in. A powered hub adds several ports in one place and avoids overloading a single port on the computer. Keeping the hub within reach also makes it easy to plug in a controller or flash drive occasionally.
You need: a powered USB hub, a free USB port on the computer
- Connect the hub to a free USB port on the computer
- Plug the hub into its own power source if it is powered
- Connect keyboard, mouse and other peripherals to the hub
- Test each device before a longer session
Matching productUSB-C hubAmazon →
 15
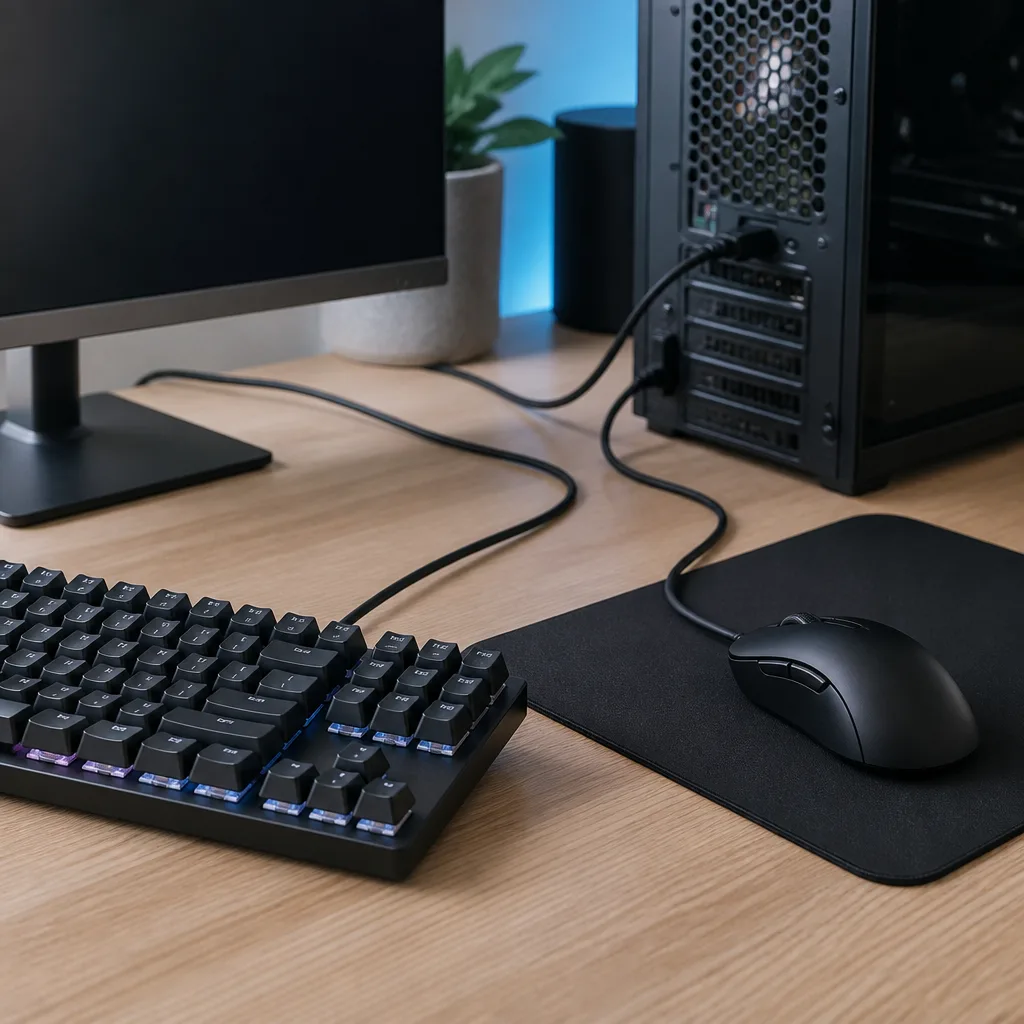
15Wired lag free gaming keyboard and mouse setup
Wired keyboards and mice remove the small delay and battery worries that come with wireless devices, which matters most in fast paced games. Connecting them directly to the computer rather than through a low quality hub keeps response times consistent. This is a simple setup with no configuration beyond plugging devices in.
You need: a wired keyboard, a wired mouse, two free USB ports
- Connect the keyboard directly to a USB port on the computer
- Connect the mouse to a separate port if possible
- Test responsiveness in a game or a simple text editor
- Route both cables so they do not catch during fast movements
Matching productUSB-C hubAmazon →
 16
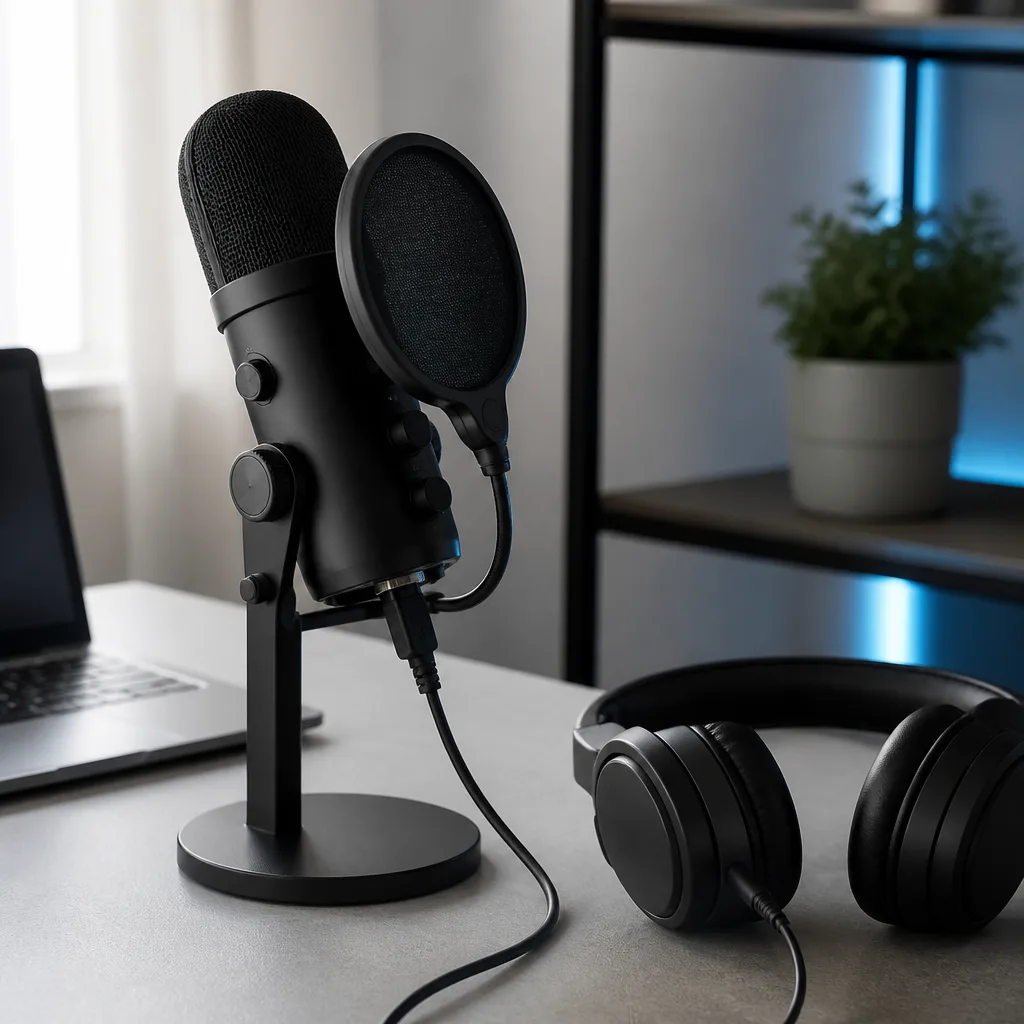
16Podcast USB microphone setup
A single USB microphone with a built in headphone jack is enough to start recording a podcast without a separate audio interface. The headphone jack lets you monitor your own voice in real time, which helps you catch background noise before it ends up in the recording. A basic pop filter reduces sharp breathing sounds without adding real cost.
You need: a USB microphone, a stand or arm, a pop filter, headphones, recording software
- Mount the microphone on the stand at a comfortable speaking distance
- Attach the pop filter between you and the microphone
- Connect the microphone to a USB port and select it in your recording software
- Plug headphones into the microphone to monitor your voice
- Record a short test before the real session
Matching productUSB microphoneAmazon →
 17
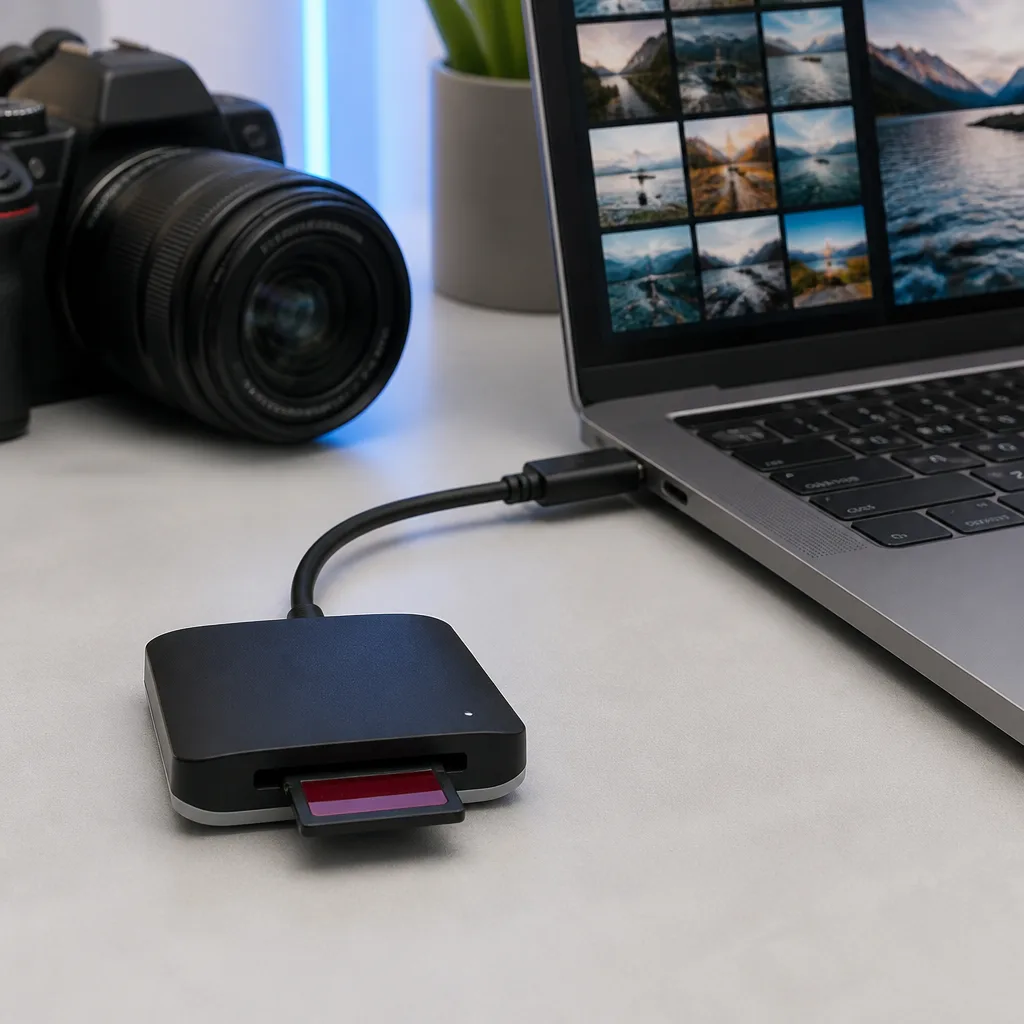
17Photo import and backup workflow with a card reader
A dedicated card reader usually transfers photos faster and more reliably than connecting the camera itself, and it frees the camera to keep shooting while the previous card's images copy over. Building a habit of copying to two places, a working drive and a backup drive, protects a shoot from a single drive failure. Label cards clearly once they are copied and cleared.
You need: a USB card reader matching your card type, a working drive, a backup drive
- Insert the memory card into the reader
- Connect the reader to your laptop
- Copy the photos to your main working drive
- Copy the same photos to a separate backup drive
- Clear the card only after both copies are confirmed
Matching productExternal SSDAmazon →
 18
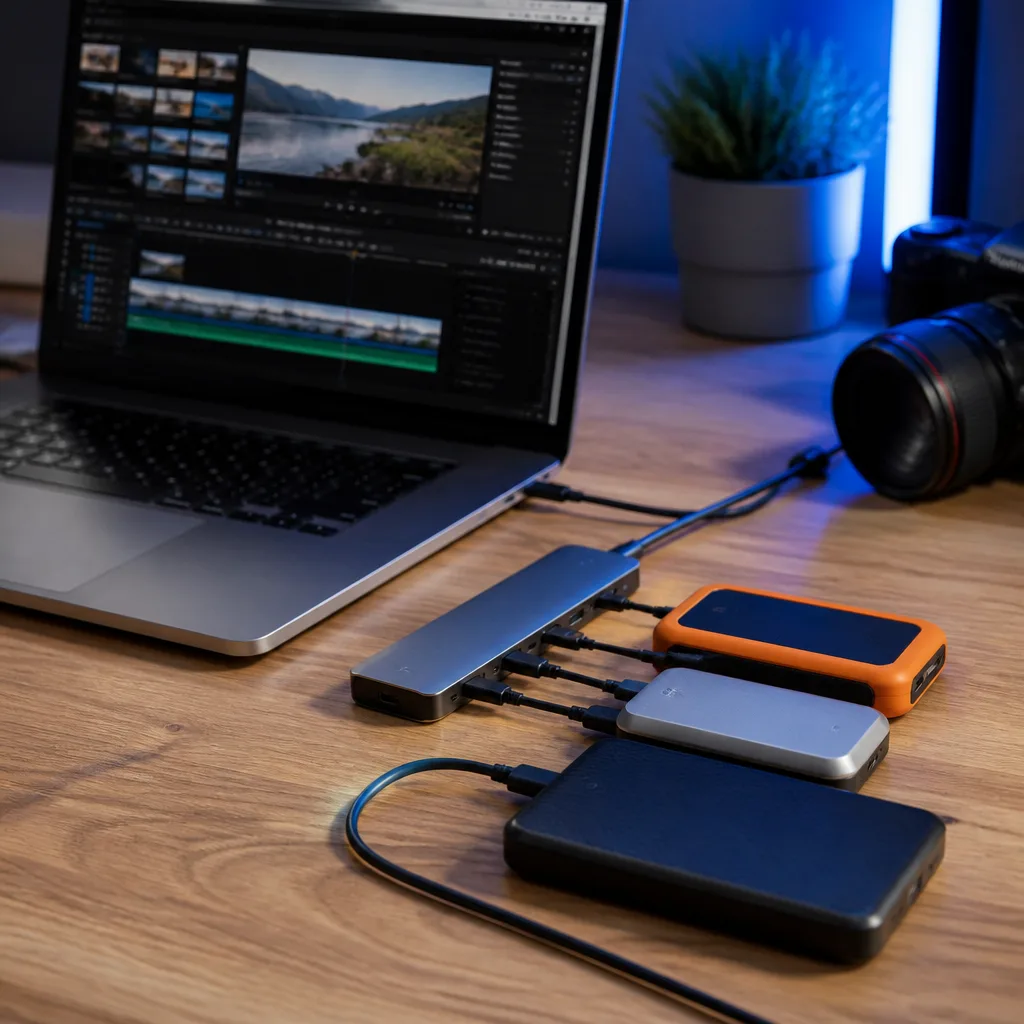
18Multi drive video editing storage setup
Video editing benefits from separating footage, project files and exports across different drives, since reading and writing to the same drive at once can slow playback. A hub or dock with enough ports lets several drives stay connected at once without crowding the laptop itself. Faster drives on higher speed ports make the biggest difference when working with high resolution footage.
You need: a hub or dock with multiple ports, two or more external drives, editing software
- Connect the hub or dock to the laptop
- Connect a drive for source footage
- Connect a separate drive for project files and exports
- Set the editing software's project and cache locations to match
- Confirm playback is smooth before a long editing session
Matching productUSB-C hubAmazon →
 19
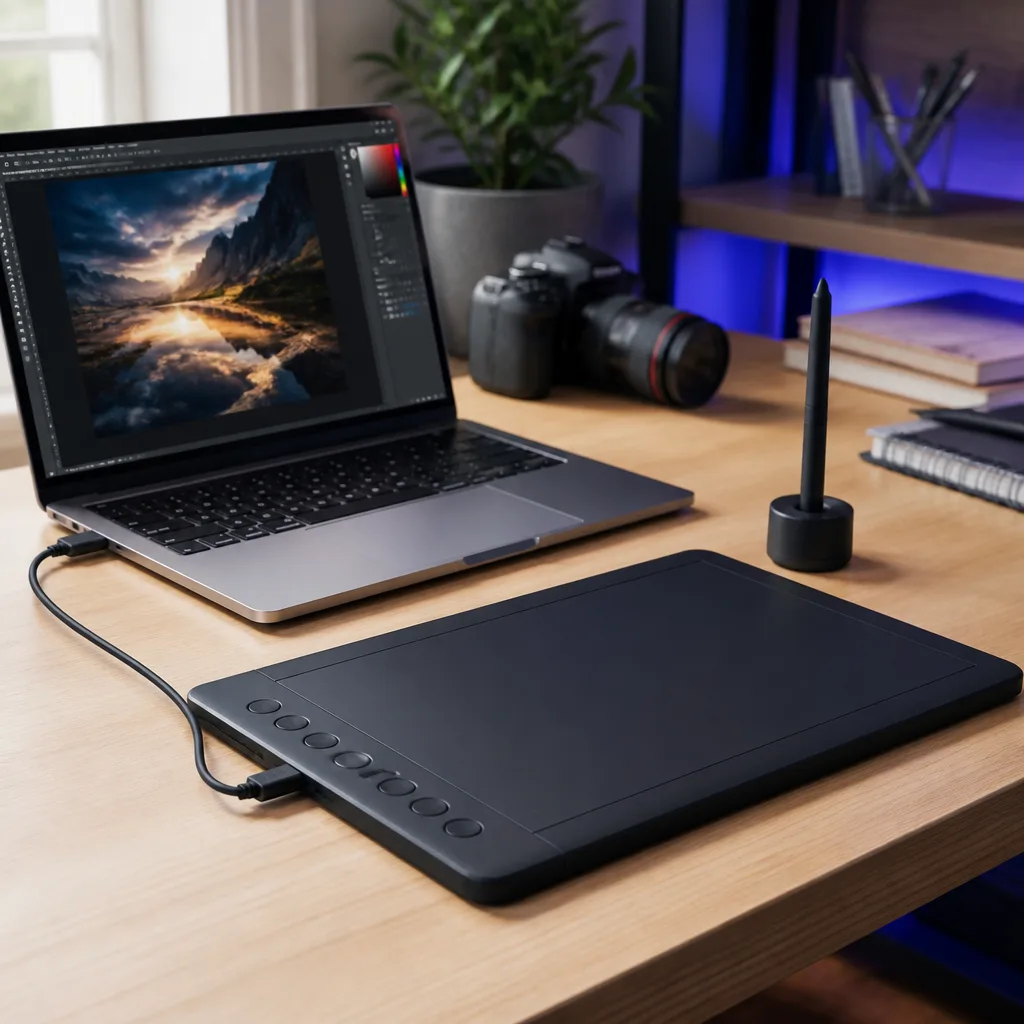
19Drawing tablet and creative peripherals setup
A USB graphics tablet connects directly to a laptop and, together with its drivers, turns hand movement into precise input for illustration or photo editing. Placing the tablet centrally in front of the keyboard, rather than off to the side, makes longer sessions more comfortable. Most tablets can share a hub with a mouse and other accessories without any conflict.
You need: a graphics tablet, its driver software, a stylus
- Install the tablet's driver software before connecting it
- Connect the tablet to a USB port
- Calibrate the active area if the software offers it
- Test pressure sensitivity in your drawing application
Matching productUSB-C hubAmazon →
 20
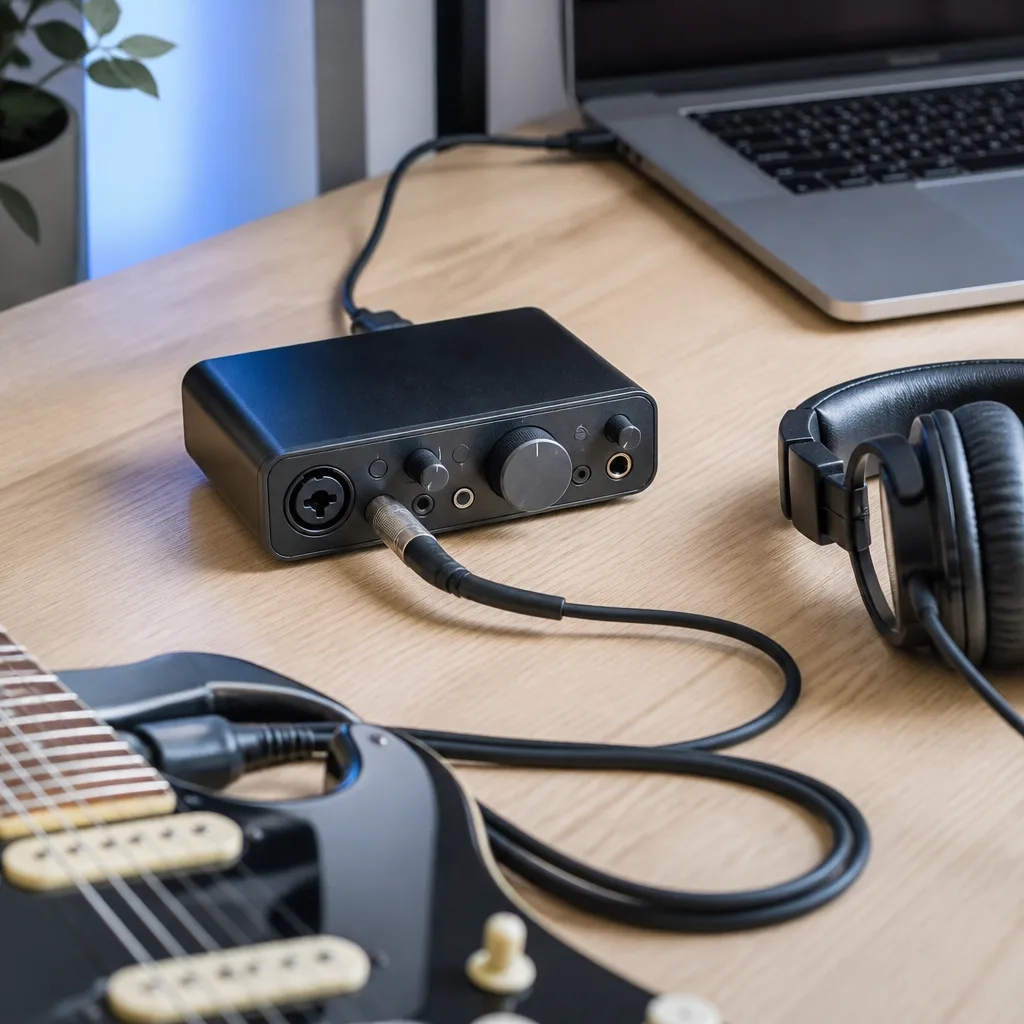
20Audio interface for home recording
A compact USB audio interface lets you connect a microphone or instrument with proper gain control, which a plain USB microphone cannot match for recording music. Setting the buffer size correctly in your recording software avoids crackling or delay while monitoring. Keep the interface close to your seating position so gain knobs stay within easy reach during a take.
You need: a USB audio interface, a microphone or instrument cable, studio headphones, recording software
- Connect the interface to your laptop
- Connect a microphone or instrument to the interface's input
- Select the interface as your audio device in recording software
- Set input gain while speaking or playing at a normal level
- Set the buffer size low enough to avoid noticeable delay
Matching productUSB microphoneAmazon →
 21
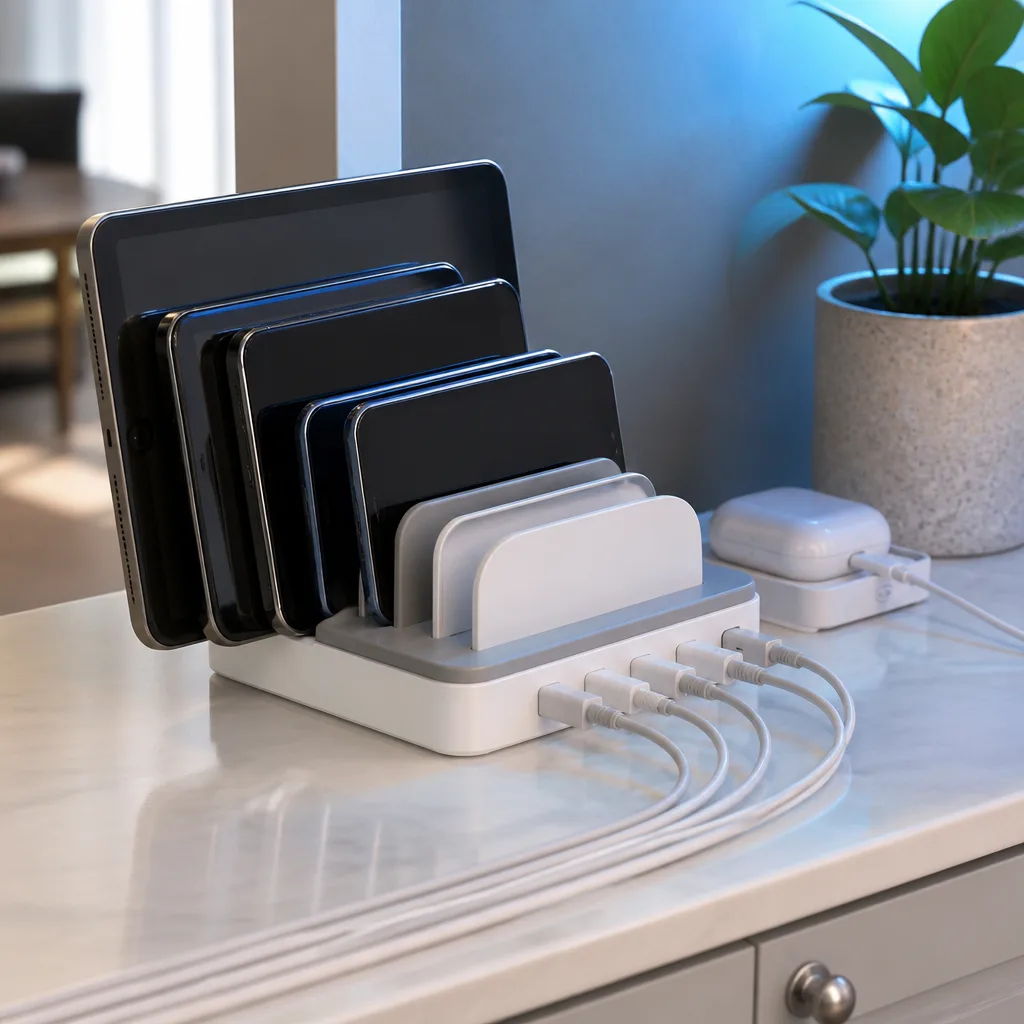
21Charging a family of devices overnight
A single multi port charger placed in a shared spot such as a kitchen counter or hallway table lets a whole household charge phones, tablets and headphones overnight without hunting for free outlets in bedrooms. Labelling each cable with the owner's name avoids the usual morning confusion. A charger with enough total output handles several devices charging at the same time without slowing down.
You need: a multi port charger, one cable per device, cable labels
- Place the charger in a shared, easily reached spot
- Connect a cable for each family member's device
- Label each cable if several people share the station
- Plug devices in as part of an evening routine
Matching productGaN charger 65 WAmazon →
 22
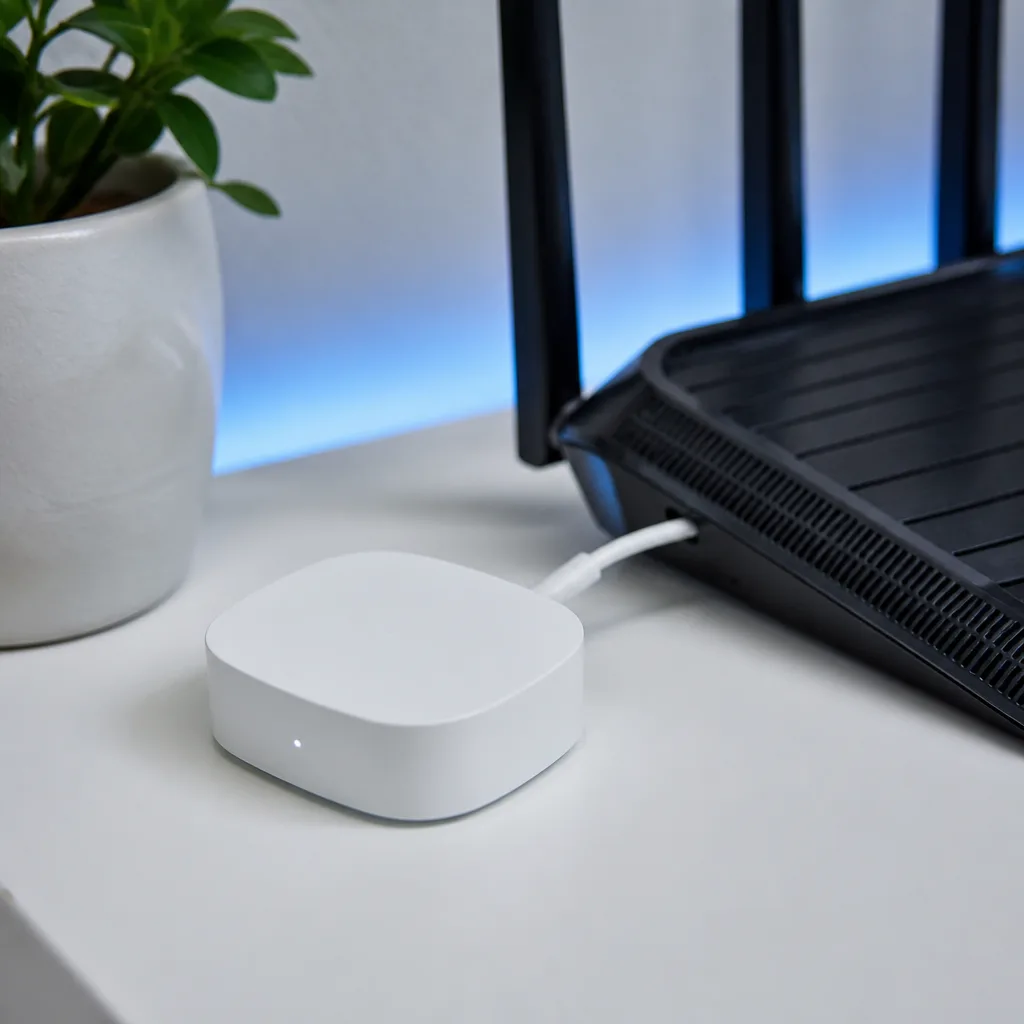
22Smart home hub wired setup
Many smart home hubs are powered over USB and sit best near the router for the most reliable connection to your other devices. Keeping the hub plugged into a permanent power source, rather than a switch that gets turned off, avoids the smart home losing connection unexpectedly. A short, good quality cable reduces the chance of an intermittent power drop.
You need: a smart home hub, a USB cable, a nearby power source
- Choose a spot near your router with a free outlet
- Connect the hub to power with its USB cable
- Complete the hub's setup in its companion app
- Avoid placing the hub behind switched outlets
Matching productUSB-C hubAmazon →
 23
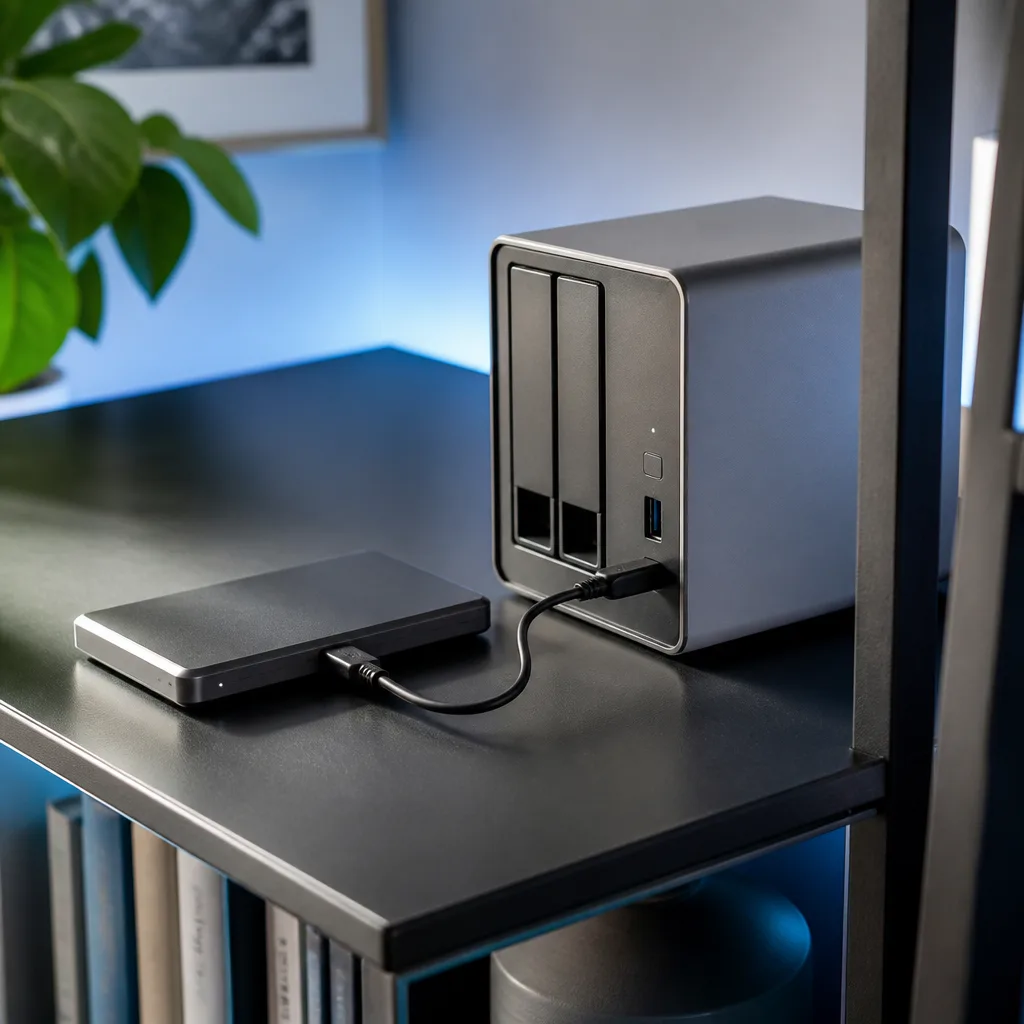
23Media server with external storage
Attaching one or more external drives to a small home server turns it into a media library that any device on the home network can browse. Choosing drives with enough capacity from the start avoids having to reorganize a growing library later. A dock or hub with several bays is more convenient than juggling loose drives once the collection grows.
You need: a home server, one or more external drives, a dock or hub if using several drives
- Connect the external drive to the server
- Format the drive if the server requires a specific file system
- Set up the media library folders on the drive
- Add the library location in your media server software
- Test playback from another device on the network
Matching productUSB-C hubAmazon →
 24
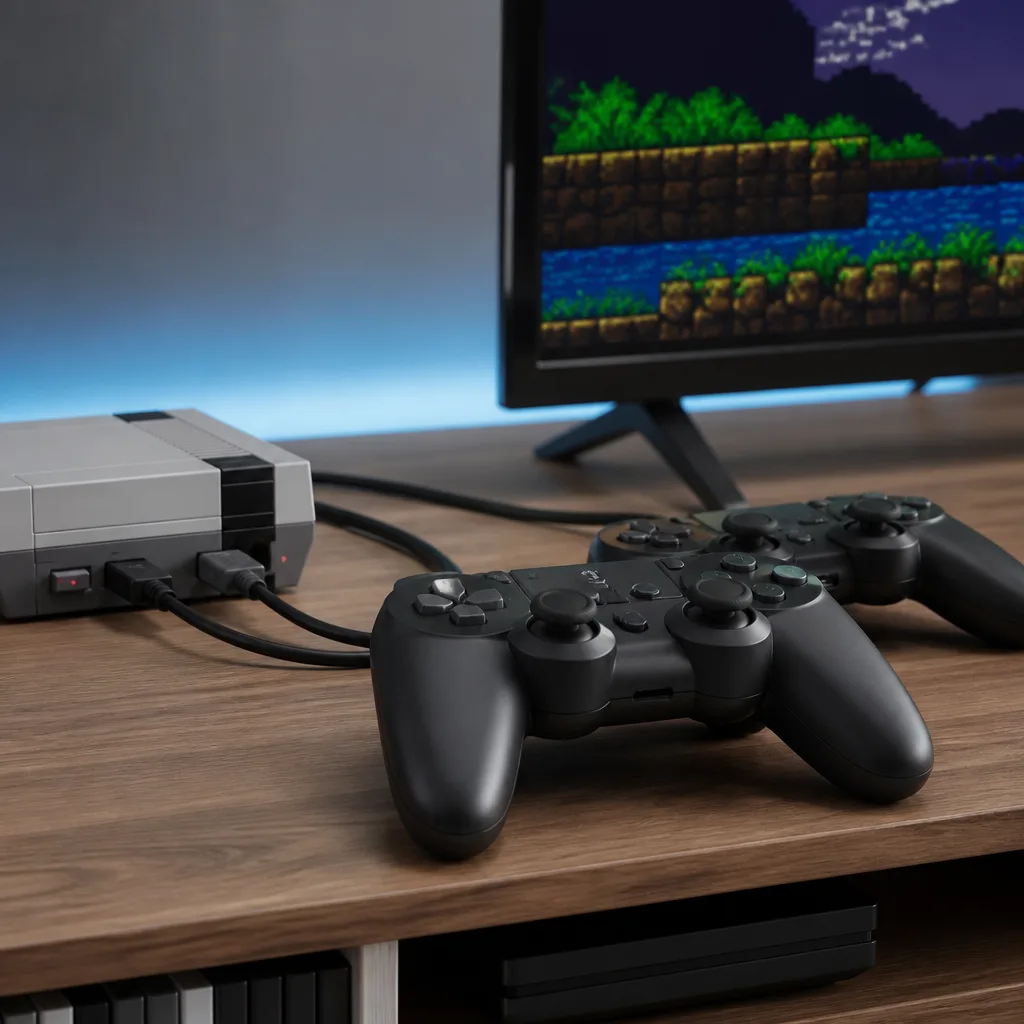
24Retro console modernization with USB controllers
Many small retro gaming consoles and emulator boxes accept modern USB controllers, which are usually more comfortable and reliable than decades old originals. Because most of these consoles offer several USB ports, the whole family can play together without searching for old peripherals. Wired controllers avoid any pairing steps and just work as soon as they are plugged in.
You need: a retro console or emulator box, modern USB controllers
- Check which controller types the console supports
- Connect a controller to each USB port you want to use
- Assign controllers to players in the console's menu
- Test each controller in a short game before a full session
Matching productUSB-C cable 240 WAmazon →
 25
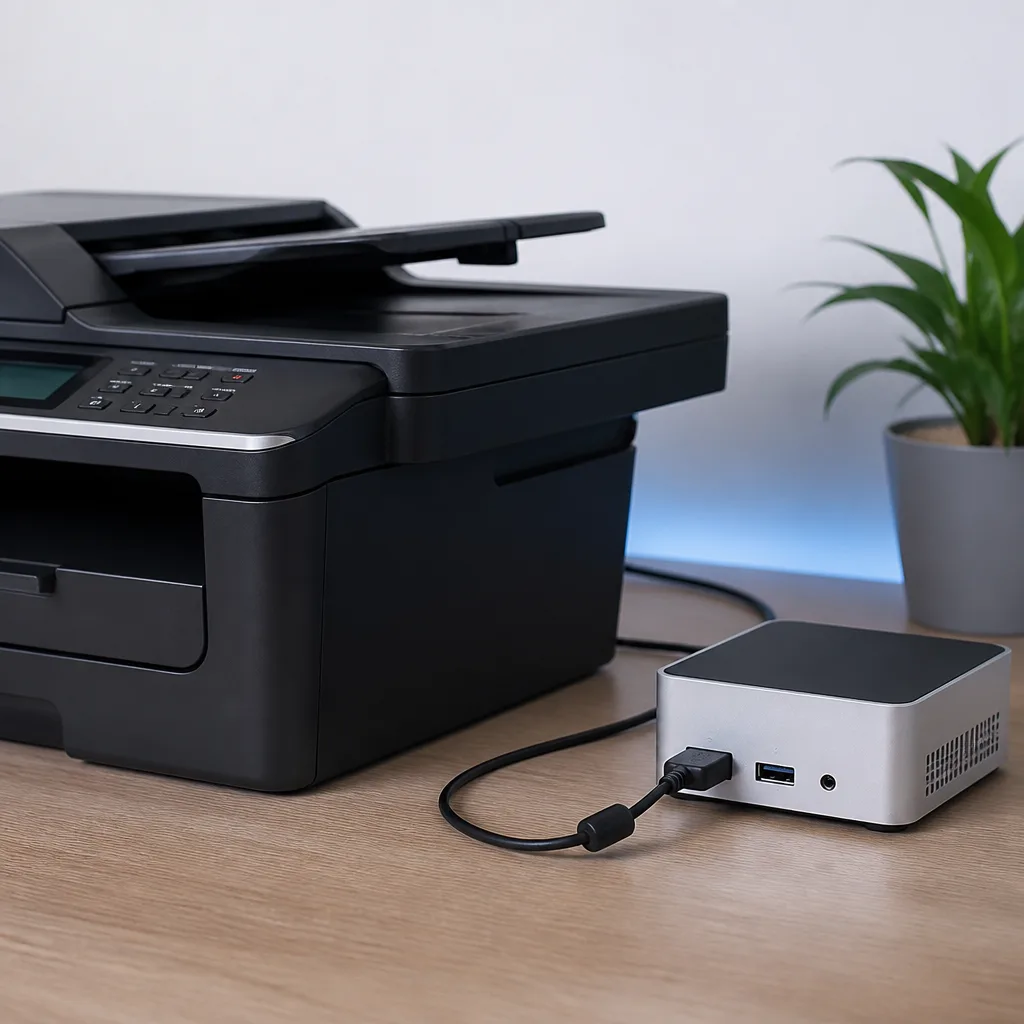
25Printer and scanner sharing over USB
A printer connected by USB to one always on computer or small server can be shared with every other device on the home network, avoiding the need for each computer to be near the printer. This also works well for combined printer and scanner units, letting a scanned document reach any device without extra cables. Keep the sharing computer switched on whenever the printer might be needed.
You need: a printer, a USB cable, a computer or small server to share it
- Connect the printer to the sharing computer with USB
- Install the printer's driver on that computer
- Enable printer sharing in the operating system's settings
- Add the shared printer on other devices over the network
- Print a test page from another device
Matching productUSB-C cable 240 WAmazon →
 26
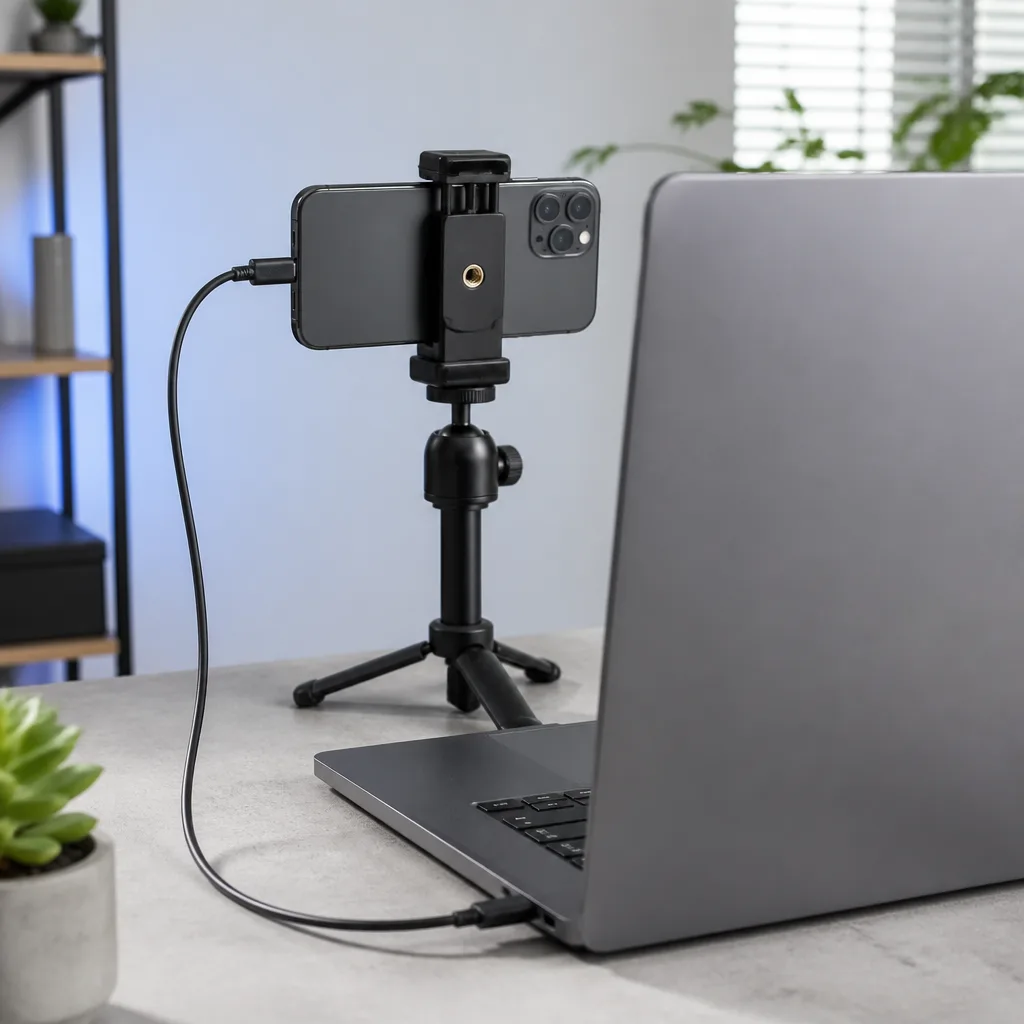
26Phone as webcam
Many phones can act as a sharper alternative to a laptop's built in webcam once connected by USB and paired with the right app or driver. Mounting the phone on a small tripod or clip just above the laptop screen keeps the angle natural for video calls. Check that your phone stays charged during longer calls, since acting as a webcam can use more power than usual.
You need: a smartphone, a USB cable, webcam software, a small tripod or clip
- Install the webcam app or driver on both phone and computer
- Mount the phone above or behind the laptop screen
- Connect the phone to the computer with USB
- Select the phone as the camera source in your call software
- Do a short test call to check angle and lighting
Matching productUSB-C cable 240 WAmazon →
 27
27On the go storage expansion for a phone
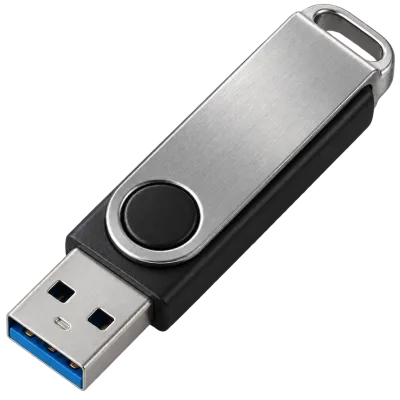
A small flash drive with a USB-C connector lets you move large files, such as videos from a shoot, off a phone without waiting for a cloud upload. This is especially useful when working somewhere without reliable internet access. Formatting the drive in a format your phone recognizes avoids compatibility surprises in the field.
You need: a USB-C flash drive, a file manager app if your phone needs one
- Format the flash drive in a format your phone supports
- Connect the drive to your phone's USB-C port
- Open your phone's file manager to browse the drive
- Copy files to or from the drive as needed
- Safely eject the drive before disconnecting
 Matching productUSB flash driveAmazon →
 28
28Car charging setup for phone and accessories
A car charger with two or more ports lets a driver and passenger charge phones at the same time without fighting over a single socket. Choosing a charger with enough combined output avoids slow charging when both ports are used together. Keeping a spare cable in the car means a forgotten cable at home does not end the trip with a dead phone.
You need: a multi port car charger, a cable for each device
- Plug the car charger into the vehicle's socket
- Connect a cable for each device that needs charging
- Keep a spare cable in the car for guests or forgotten cables
- Check the charger still fits after any vehicle interior changes
Matching productGaN charger 65 WAmazon →
 29
29Mobile photography rig with USB-C accessories
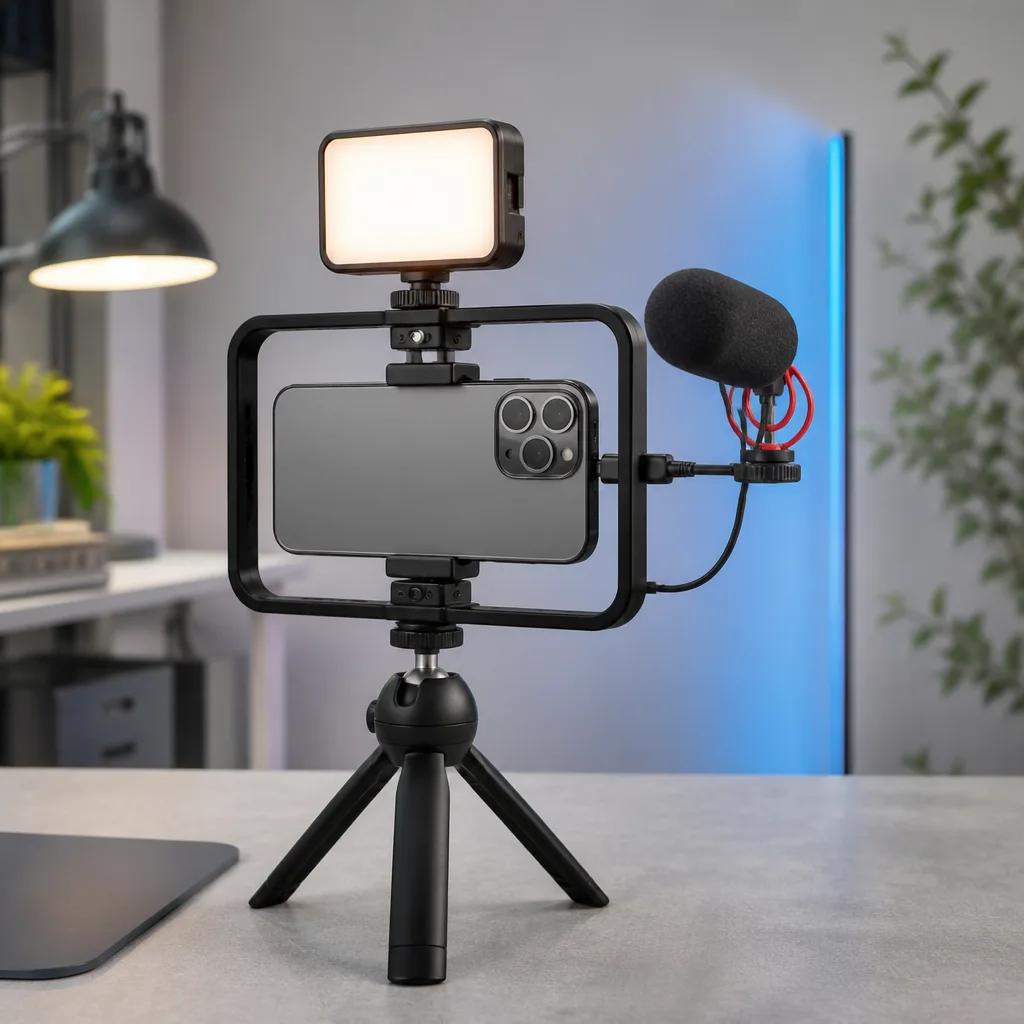
Building a small rig around a phone, with a clip on light and a USB-C microphone, brings mobile video much closer to a dedicated camera setup without carrying separate equipment. Attaching accessories directly to the phone's USB-C port keeps cabling to a minimum while filming while moving. Testing the full rig indoors before an outdoor shoot avoids discovering a loose connection on location.
You need: a phone rig or grip, a USB-C microphone, a clip on light, a phone with a free USB-C port
- Attach the phone to the rig or grip
- Connect the microphone to the phone's USB-C port
- Attach the light to the rig and power it separately if needed
- Test audio and video together before filming
- Pack a short adapter cable in case the microphone needs one
Matching productUSB microphoneAmazon →
 30
30Field data backup for a phone based creator
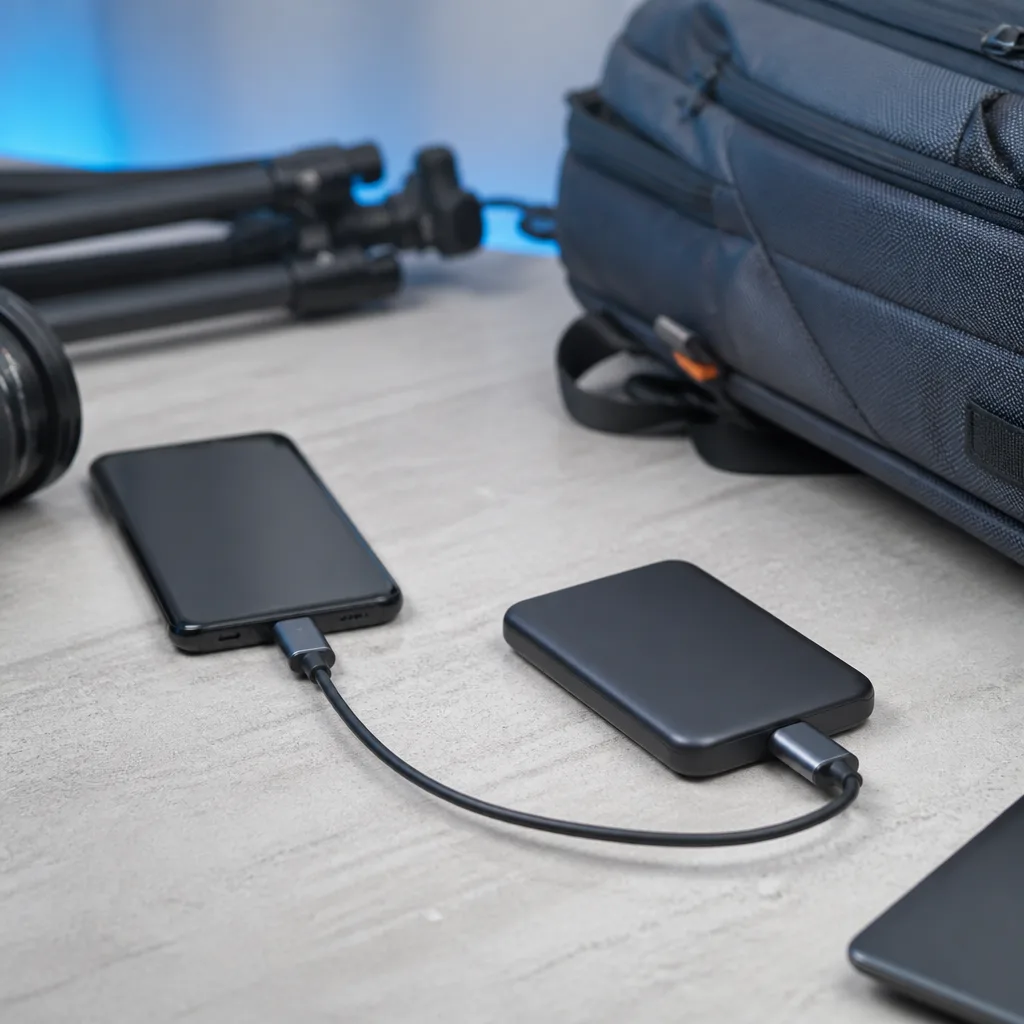
Creators shooting on a phone while travelling benefit from backing up footage to a small portable SSD at the end of each day, rather than relying only on the phone's storage. This protects a day's work if the phone is lost, damaged or simply runs low on space. A rugged, pocket sized drive with a USB-C connector matches most current phones without extra adapters.
You need: a phone, a USB-C portable SSD, a cable matching both connectors
- Connect the portable SSD to the phone with the matching cable
- Open the phone's file manager to select the day's footage
- Copy the footage to the drive
- Confirm the copy completed before clearing space on the phone
- Store the drive securely, separate from the phone, overnight
Matching productExternal SSDAmazon →
Explore
Read next
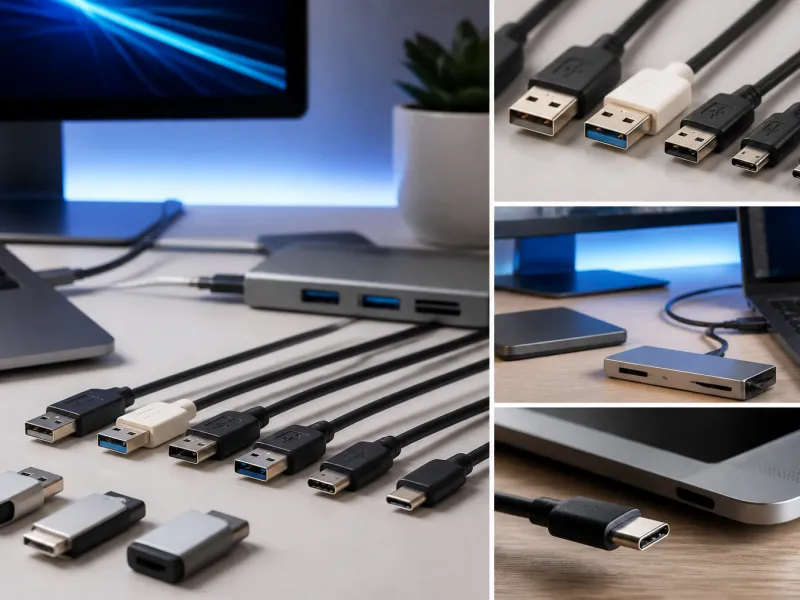 USB Standards and Speeds Explained: USB 1.0 to USB4 Version 2.0A complete overview of USB versions and speeds, from USB 1.0 to USB4 Version 2.0, including the confusing renaming of USB 3.x.
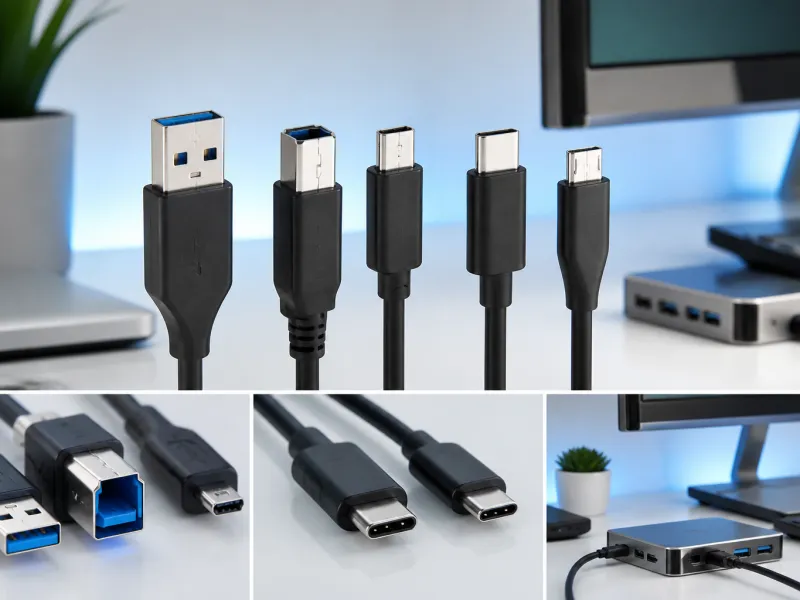 USB Connector Types Explained: Type-A to USB-CA guide to every USB connector type, from Type-A and Micro-USB to USB-C, which devices use which, and how adapters bridge between them.
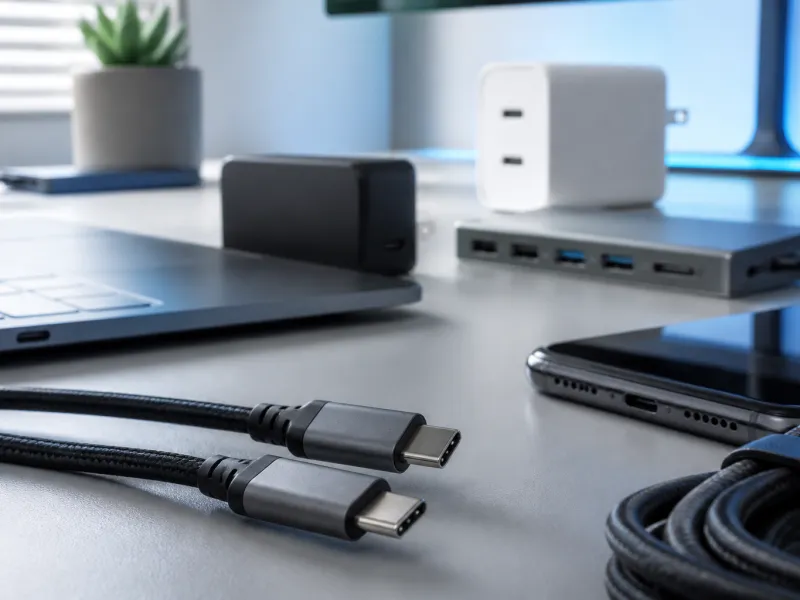 How USB-C Charging Works: Power Delivery, PPS and EPR ExplainedA clear explanation of USB-C charging: Power Delivery negotiation, PPS, Extended Power Range, cable current limits, and common reasons for …